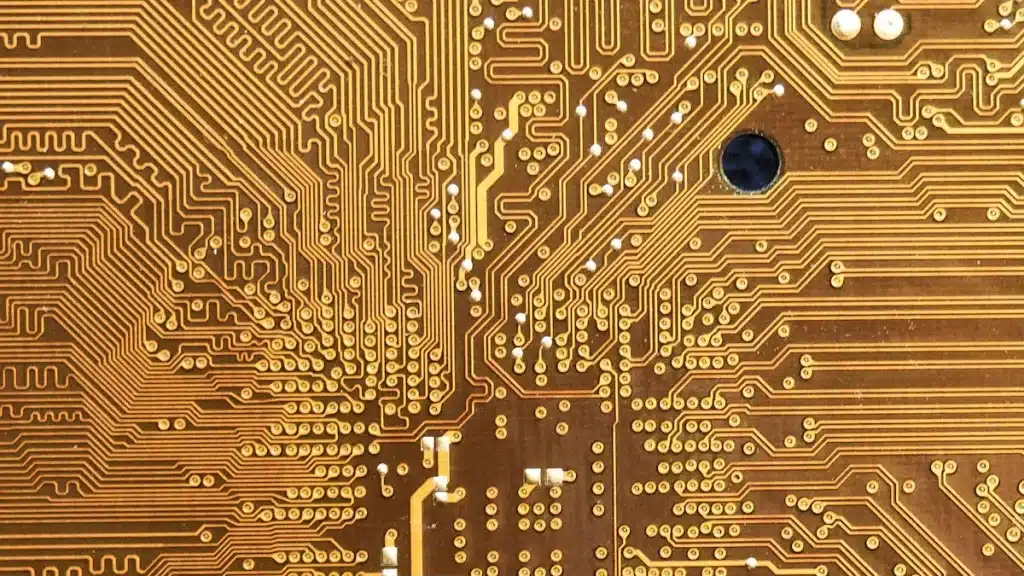
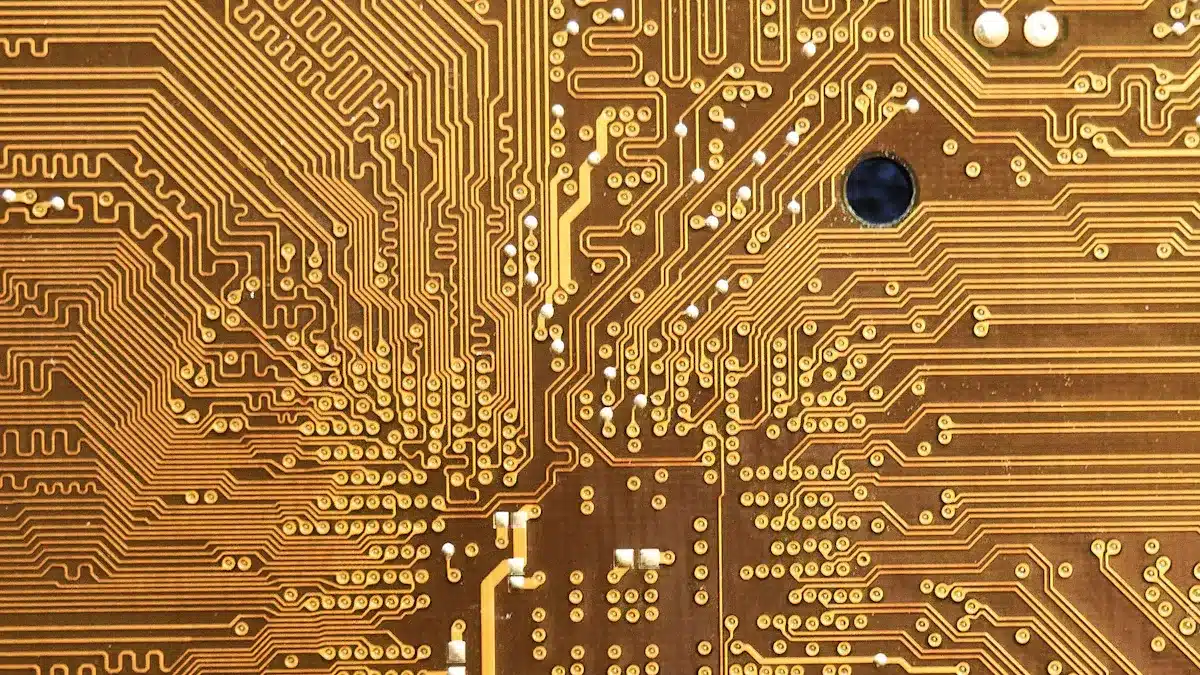
Minimalist circuit board art mixes beauty and usefulness. This design style focuses on simplicity. It lets you enjoy the detailed patterns of circuits. There are no extra details to distract you. By highlighting important parts, you make a cleaner look. This improves how everything appears. The mix of looks and usefulness attracts many people today. That is why minimalist circuit board prints are popular with artists and engineers.
Key Takeaways
Keep your circuit board designs simple. A minimalist style shows important parts and makes things clearer.
Use good space management methods. Placing parts wisely helps both function and looks.
Pick a small color palette. Use three to five colors for a clean and matching look.
Focus on prototyping during your design process. Testing early finds problems and saves time and money.
Choose dependable components. Make sure they work well, fit together, and last longer for better performance.
Understanding Minimalism in PCB Art
Definition of Minimalism
Minimalism in PCB design means keeping it simple. It removes extra parts to focus on the main pieces. This way, you can show off the beauty of the circuit. When you make a minimalist circuit board print, you use clean lines and clear layouts. You avoid messiness that can confuse people. Instead, you let the design shine on its own. This clarity makes your work look better overall.
Importance of Minimalism
Using minimalism in your designs has many benefits. First, it makes things clearer. A simple design helps people see what each part does. They can easily spot connections and paths. This understanding is important for both artists and engineers.
Second, minimalism makes things look nice. A well-made minimalist circuit board print can be very eye-catching. Without distractions, the detailed patterns of the PCB can stand out. This beauty can grab attention and admiration from more people.
Lastly, minimalism helps you work better. By focusing on the main parts, you can make the design process easier. You spend less time on unneeded details and more time improving the key parts of your PCB. This can lead to faster making and testing.
Design Principles for Minimalist Circuit Board Print
Simplicity and Clarity
When you make a minimalist circuit board print, focus on simplicity and clarity. A clean design helps viewers easily understand what each part does. Here are some important benefits of keeping it simple:
Cost-effectiveness: Single-layer PCBs are cheap because they are easy to make and need less material.
Ease of assembly: Simple designs are quick to put together and fix, making repairs easier.
Reliability: Fewer parts mean fewer chances for problems, making it more reliable.
Suitability for high-volume production: Minimalist designs are great for mass-produced electronics, helping them reach stores faster.
To keep things clear while still being functional, try these strategies:
Evidence Type | Description |
|---|---|
Strategic Component Placement | Place parts based on their function, how easy they are to reach, heat control, and how easy they are to make. This affects how well the traces work and how strong the signals are. |
Use good routing methods to keep signals strong and reduce mistakes during assembly. This keeps the layout working well while staying clear. | |
Clear markings from high-resolution silkscreen make it easy to read, helping to identify parts correctly. This is important to lower mistakes in crowded layouts. |
Effective Use of Space
Using space wisely in your minimalist circuit board prints is very important. You want a layout that works well and looks good. Here are some tips to help you do this:
Flexible Printed Circuit Boards (FPC): These boards let you create small and flexible designs, which cuts down wiring costs a lot.
Proper Routing Constraints: Set specific rules for routing to handle the complexity of circuits. This helps parts communicate well.
High-Density Interconnect Technology: This technology increases the number of connections on a circuit board, making better use of space.
How you arrange the parts is key to getting a good balance between looks and function. Smart placement can improve electrical efficiency, shrink board size, and boost signal strength. Grouping parts that work together shortens connection lengths, which helps reduce signal loss and interference.
Color Palette Selection
Picking the right color palette is important for minimalist circuit board art. A small range of colors highlights key parts and keeps a consistent look. Here are some tips for choosing your colors:
Limit your palette to three to five colors to keep it simple.
Use neutral colors like white, black, or gray for contrast and to make main colors pop.
Choose colors that go well together to improve the overall look of your design.
By following these design principles, you can create minimalist circuit board prints that are both useful and visually appealing. Embrace simplicity, use space wisely, and choose your colors carefully to enhance your custom PCB art.
Tools for Designing Custom PCB Art
Software Options
Picking the right software is very important for making minimalist circuit board designs. Some tools are better because they are easy to use and have great features. Here’s a look at some popular software options:
Software Tool | Key Features | User Suitability |
|---|---|---|
Altium Designer | – Easy to use | Professional designers and engineers |
Autodesk EAGLE | – Big library of parts | Small firms and budget-friendly designers |
When you choose software, look for features that help with minimalist designs. Here are some important things to consider:
Feature | Description |
|---|---|
Easy User Interface | Makes it simple to use, which fits with minimalist ideas by cutting down on confusion. |
Strong Design Tools | Includes tools for drawing, layout, routing, and testing, which helps you work faster. |
Smooth Integration | Helps teams work together and makes processes easier, supporting simple design workflows. |
Design Rule Checking (DRC) | Finds problems early, making sure designs can be made and are reliable. |
DFM Analysis | Makes sure designs are ready for manufacturing, improving how easy they are to produce. |
Signal Integrity (SI) Analysis | Looks at performance issues early, helping to create better designs. |
Power Integrity (PI) Analysis | Makes sure power is distributed well, which is important for minimalist designs. |
Thermal Analysis | Finds heat problems, ensuring reliability and good performance. |
Smart Library Management | Boosts productivity and accuracy, supporting a minimalist way to manage design resources. |
Version Control | Keeps track of design changes and history, making project management easier. |
Teamwork Tools | Encourages collaboration and sharing knowledge, which is key for minimalist design processes. |
Great Customer Support | Offers help and resources, improving user experience and understanding. |
Design Techniques
To get clean lines and less clutter in your PCB layouts, use these helpful design techniques:
Make sure there are no floating copper areas and connect them to the ground.
Adjust trace width based on how much current they carry.
Keep signal lines and return paths short to cut down on noise.
Leave enough space between traces to reduce crosstalk.
Avoid sharp 90° turns in traces to stop signal reflection.
Ensure there are no loops in the power and ground connections.
These techniques not only improve how your PCB works but also make it look better. Advanced design methods can take your minimalist circuit boards to the next level. For example:
Technique | Contribution to Aesthetic |
|---|---|
Etched Illustrations | Lets you create detailed artwork by removing copper, making beautiful designs while keeping them functional. |
Circuit Trace Art | Uses existing traces to create artistic shapes, keeping the board working while looking nice. |
Creative Solder Masks | Custom masks add color and texture, mixing electronics with art for a lively surface. |
Component Integration | Makes components part of the art, allowing for creative storytelling through their layout and design. |
Component Selection
Choosing the right components is key for your minimalist PCB design. Here are important things to think about:
Criteria | Description |
|---|---|
Functionality | Make sure parts do what the circuit needs. |
Compatibility | Parts must work well together, especially in mixed circuits. |
Reliability | Parts should be tested to ensure they can handle different conditions. |
Manufacturability | Think about how easy it is to make and find the parts. |
Durability | Check how many times connectors can be used and their material quality. |
Size | Use small connectors in tight designs to save space. |
EMI Compatibility | Choose parts that reduce electromagnetic interference. |
Thermal Compatibility | Ensure parts can handle heat without affecting others. |
Power Compatibility | Match voltage and current ratings to simplify design and save power. |
Compliance Standards | Make sure parts meet important standards like RoHS and IPC. |
Manufacturer Reliability | Pick parts from trusted manufacturers that provide reliability information. |
Choosing the right components affects how easy it is to make and how reliable your minimalist PCBs are. It ensures your design can handle the necessary conditions. Following design for manufacturing (DFM) principles shows how important it is to choose parts that make manufacturing easier while keeping reliability.
Prototyping and Iteration
Importance of Prototyping
Prototyping is very important in your design process. It helps you make a working model of your minimalist PCB before you start full production. This step helps you find design problems early. Here are some main benefits of prototyping:
Advantage | Description |
|---|---|
Cost-effectiveness | Prototyping boards save money, making them good for many users. |
Rapid prototyping | Fast changes help find and fix design problems early, which saves money. |
Flexibility | Prototyping lets you quickly change to meet new needs and try different solutions. |
Prototyping encourages creative thinking and trying new ideas. It helps you develop problem-solving skills that can be used outside of electronics. You also learn to be strong when facing technical problems.
Iterative Design Process
The iterative design process is key for improving your PCB designs. This process has several steps:
Requirements: Find out what software or hardware your product needs, including user needs and success goals.
Analysis: Check the requirements to clear up any confusion and find out what data you need.
Design: Make schematics based on final requirements, showing how the software should work.
Coding: Write code based on design documents to get the results you want.
Feedback: After each round, get user feedback to find problems and improve the design.
This cycle helps you focus on what users need and research. You can think of solutions based on user needs and situations. Prototyping early versions helps test ideas well. Looking at feedback helps you make improvements in the next rounds.
Testing and Feedback
Testing your prototype is very important to make sure it works. Prototyping allows for visual checks, functional tests, and environmental tests. These methods help you find design problems early. Testing in real-world conditions shows if your PCB does what it is supposed to do. For example, you can see if a motor spins at the right speed.
By adding testing and feedback to your design process, you make your minimalist circuit board art more reliable and effective.
Finalizing Your Design
Preparing Files for Production
Before sending your minimalist PCB design for production, you need to prepare your files carefully. Following good practices helps you avoid common mistakes. Here are some important steps to think about:
Use the right grid spacing.
Avoid using multiple grids if you can.
Keep your traces short and straight.
Pay attention to how you distribute power.
Group parts together to make designs and testing easier.
Check your design rules (DRC) often.
Use silkscreens well.
Avoid auto-routers.
Clean files ready for production are very important. You need to include Gerber files, a Bill of Materials (BOM) in Excel format, and assembly drawings. Reviewing your files early helps catch problems before they cause delays. Mistakes in your schematic can lead to non-working prototypes, costly fixes, and even harm your reputation.
Choosing a Manufacturer
Picking the right manufacturer for your minimalist circuit board designs is very important. You should think about several factors:
Quality
Cost
Delivery
Relationships
Material sourcing
Production abilities
When you choose a manufacturer, compare their ratings. Gather more information about their services. Ordering a trial batch lets you check their skills. Manufacturers with advanced abilities can greatly reduce lead times, which is important for meeting market needs.
Quality Control Considerations
Quality control is key for making sure your minimalist PCB designs are good. Start with a smart design that focuses on being easy to make. Using Design for Manufacturing (DFM) ideas makes your designs simpler and ensures high quality during production. Set clear design rules to reduce mistakes and meet industry standards.
Good quality control checks that each board meets these standards. This process stops defects that could cause failures. It ensures stable electrical connections and secure component mounting, which are very important for your board’s performance. Remember, quality control for minimalist designs is easier because of their simple structure compared to complex designs.
In short, minimalist circuit board design mixes beauty and usefulness. By focusing on being simple and clear, you can improve how your work looks and works. Make sure to manage space well and use a few colors. These ideas help make designs that look good and work better.
As the industry moves toward smaller sizes and eco-friendly materials, using minimalism will keep your designs up to date. Try these tips on your next project and see how great minimalist design can be!
FAQ
What is a minimalist PCB design?
A minimalist PCB design is all about keeping it simple. It cuts out extra parts and highlights the important ones. This makes it clearer and nicer to look at, helping you understand how the circuit works.
How do I start creating a board outline?
To create a board outline, begin by drawing your design on paper. Find the main parts and where they go. Then, use software tools to improve your outline, making sure it fits your design goals and what you need for manufacturing.
Why is prototyping important in PCB design?
Prototyping lets you test your PCB design before making a lot of them. It helps you find problems early, which saves time and money. You can change things based on how it works in real life, making sure the final product is reliable.
What software should I use for PCB design?
Some popular software for PCB design are Altium Designer and Autodesk EAGLE. These tools are easy to use and have great features, making them good for both beginners and experienced designers.
How can I ensure quality control in my PCB designs?
To keep quality control, use Design for Manufacturing (DFM) ideas. Regularly check your design rules and do thorough testing. This helps find mistakes early and makes sure your PCB meets industry standards.
See Also
10 Proven Strategies for Cost-Effective PCBA Production
Streamlined PCBA Solutions for Quick Electronics Projects
Key Strategies to Enhance PCB Assembly Productivity