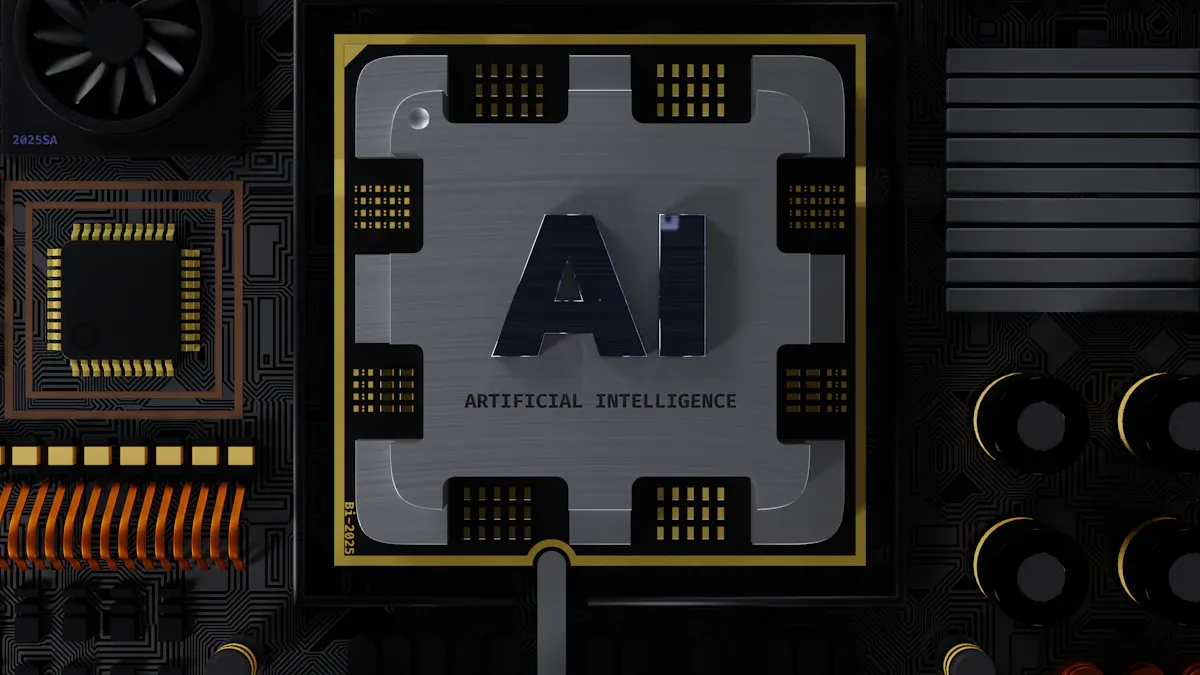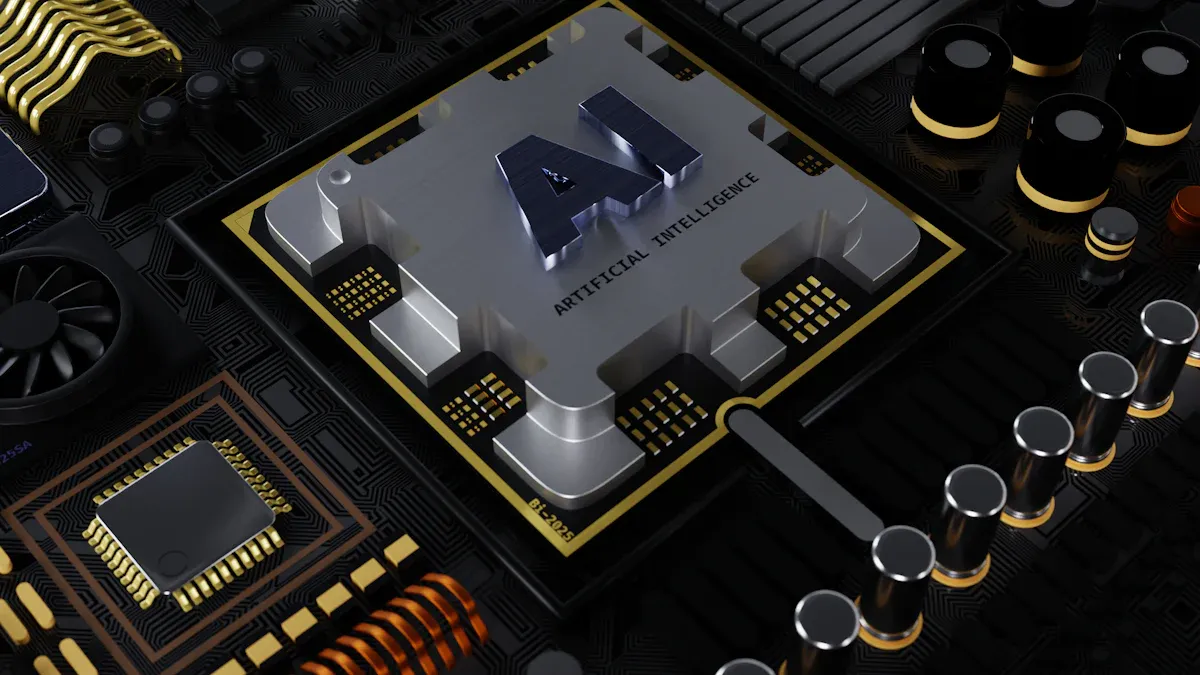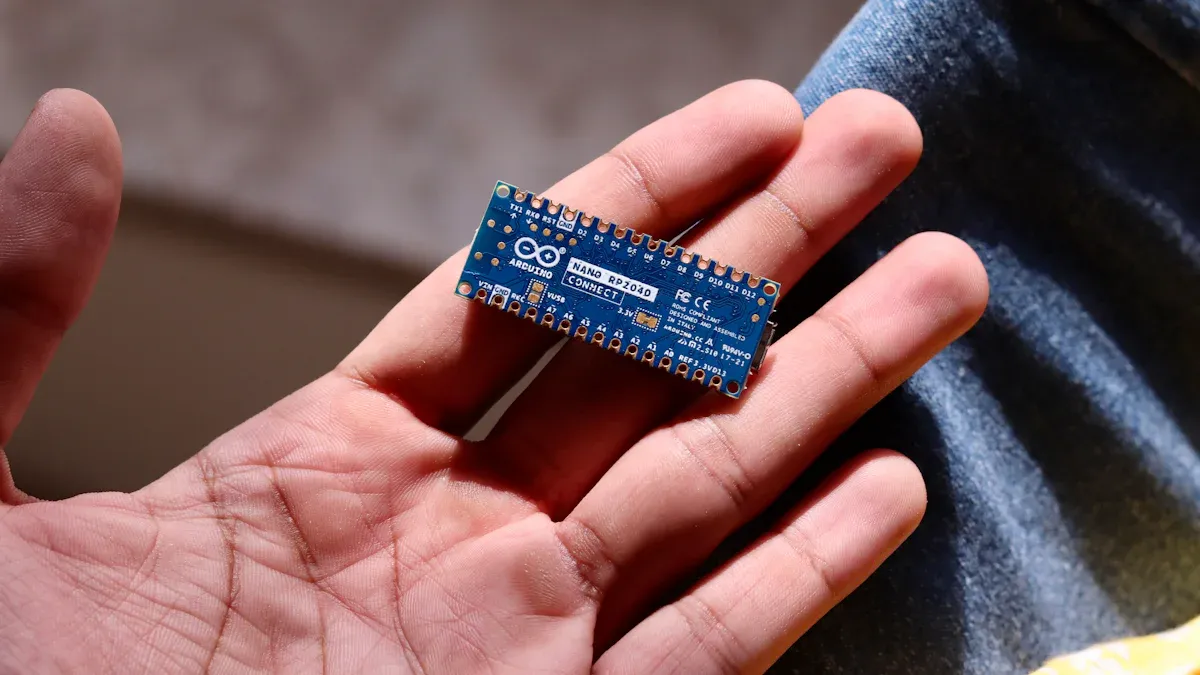
An AI accelerator board assembly is a special computer part that plays a crucial role in enhancing the performance of artificial intelligence and machine learning tasks. These boards are designed to handle demanding computing jobs, such as training and deploying AI models. Approximately 40% of companies are focusing on integrating AI accelerator boards into their systems, highlighting their significance in contemporary AI projects.
Constructing an AI accelerator board assembly correctly is essential for optimizing its performance. Additionally, you can customize the hardware to meet your specific requirements. By adhering to clear guidelines, you can minimize errors, save time, and achieve the best possible outcomes.
Key Takeaways
Get all tools ready before you start. You’ll need screwdrivers, thermal paste, and an anti-static wrist strap to avoid damage.
Learn about the main parts of the AI board. Knowing them helps you make smart choices while building.
Keep your workspace clean and neat. A tidy space helps you find small parts and avoid mistakes.
Follow clear steps to build the board. Check parts, add the chip, plug in cables, and secure the board for best results.
Test your AI board often and improve it. Use tools to check how it works and change settings for better performance.
Preparation for AI Accelerator Board Assembly

Tools and Equipment Checklist
Before starting, gather all the tools you’ll need. Having them ready saves time and avoids delays. Here’s a simple checklist:
Screwdrivers: Small screwdrivers for tiny screws.
Anti-static wrist strap: Stops static electricity from harming parts.
Thermal paste: Helps heat move between the chip and cooler.
Cable ties: Keeps wires neat and untangled.
Magnifying glass or lamp: Lets you check small parts for damage.
Multimeter: Tests power and electrical connections.
With these tools ready, your assembly will go smoothly.
Understanding the Components of a Deep Learning Accelerator
To build your deep learning accelerator, know its main parts. Each part is important for how well it works:
Component/Metric | Description/Value |
|---|---|
Architecture | MAERI (Multiply-Accumulate Engine with Reconfigurable interconnects) |
Performance Measurement | Checked using MAESTRO tool |
Data Flow Strategies | NLR (No Local Reuse) and NVDLA (NVIDIA Deep Learning Accelerator) |
Performance Indicators | Better L1 and L2 reuse, shorter runtime (cycles) for NVDLA |
Efficiency Improvement | Costs, energy, and runtime improved by 8–459% with MAERI |
Total Runtime Comparison | NVDLA has much faster runtime than NLR |
Knowing these parts helps you make smart choices and improve performance.
Setting Up a Safe and Organized Workspace
A clean and safe workspace is key for assembly. Pick a flat, well-lit surface. Clear clutter to avoid losing small pieces. Use an anti-static mat to protect parts from static. Keep tools close and neatly arranged.
Tip: Don’t work on carpets or near pets. These create static electricity. Always wear an anti-static wrist strap to protect the board.
By organizing your workspace, you’ll avoid mistakes and damage, making assembly easier.
Step-by-Step AI Accelerator Board Assembly

Checking and Getting Components Ready
Before starting, check every part of your AI accelerator board. Look for damage like bent pins, scratches, or cracks. Use a magnifying glass to see small parts clearly. Replace any damaged parts right away.
Sort the parts by type. Put the AI accelerator chip, cooling system, cables, and screws in separate spots. This keeps things organized and avoids mix-ups during assembly.
Tip: Be gentle with all parts to prevent damage. Always wear an anti-static wrist strap to protect parts from static electricity.
Placing the AI Accelerator Chip
The AI accelerator chip is the main part of your board. To install it, line up the chip with the socket on the board. Make sure the pins fit the holes exactly. Press the chip gently into place without forcing it.
Spread a thin layer of thermal paste on the chip’s top. This helps heat move better between the chip and the cooler. After applying the paste, attach the cooling system firmly. Tighten the screws evenly to avoid harming the chip.
Note: Check the alignment before securing the chip. A wrong fit can cause problems or damage.
Attaching Power and Data Cables
Connecting cables correctly is key for your AI accelerator board to work. Start by checking the cable details with wiring diagrams. Look for damage like frayed wires or loose ends.
Follow these steps for proper connections:
Step Type | What to Do |
|---|---|
Look and Check | Match cable details with diagrams, check for damage, and confirm connections. |
Test with Tools | |
Compare Results | Ensure resistance and insulation values meet the required standards. |
First, connect the power cables. Match each connector to the right port on the board. Make sure they fit tightly. Then, attach the data cables. These connect the AI accelerator board to your computer or server. Gently pull on the cables to ensure they are secure.
Alert: Loose or wrong connections can cause power or data problems. Take your time to connect everything properly.
Attaching Cooling Systems for Optimal Performance
Cooling systems help keep your AI accelerator board from overheating. Overheating can lower performance or even damage the board. To avoid this, attach the cooling system properly.
Steps to Attach the Cooling System:
Pick the Right Cooling System: Choose a cooler that works with your board. Options include air coolers, liquid coolers, or heat sinks. Check the manufacturer’s guide for the best choice.
Add Thermal Paste: Spread a thin layer of thermal paste on the chip. This helps heat move from the chip to the cooler. Use a small tool or card to spread it evenly.
Place the Cooler: Put the cooler on the chip. Make sure the cooler’s holes match the board’s holes. If they don’t align, cooling won’t work well.
Secure the Cooler: Tighten screws or clips in a crisscross pattern. This keeps the cooler flat on the chip for better cooling. Don’t tighten too much to avoid damage.
Plug in the Cooler’s Power Cable: Connect the cooler’s power cable to the right spot on the board. Use the board’s manual to find the correct place.
Tip: Clean the cooler often to remove dust. Dust can block airflow and reduce cooling.
By following these steps, your board will stay cool and work well.
Securing the Board in a Case or Mount
After adding the cooler, secure the board in a case or mount. This protects the board and helps with airflow.
Steps to Secure the Board:
Choose the Right Case or Mount: Pick a case or mount that fits your board. A case with good airflow keeps the board cool.
Place the Board: Put the board inside the case or mount. Line up the board’s holes with the case’s holes. Make sure ports are easy to reach.
Attach the Board: Use screws or standoffs to hold the board in place. Tighten screws gently to avoid breaking the board. If using a mount, make sure it holds the board firmly.
Tidy the Cables: Arrange cables neatly to keep airflow clear. Use cable ties to bundle extra cables and keep them out of the way.
Close the Case: Once the board is secure and cables are neat, close the case. Tighten all screws and make sure the case is steady.
Alert: Don’t put the case in tight spaces or near heat. Good airflow is important for keeping the board cool.
Securing the board in a case or mount keeps it safe and makes your setup look neat.
Testing and Optimizing Your AI Accelerator
Power-On and Diagnostic Checks
After building your AI accelerator board, turn it on to test it. These tests make sure all parts work properly. First, connect the board to a stable power source. Switch it on and check the lights. A steady light means it’s working fine. Blinking or no light could mean a problem.
Use diagnostic tools to check how well the board works. These tools test tasks like deep learning. For example, studies show diagnostics can improve detection by up to 86%. The table below shows results from different studies:
Study | Acceleration Rate | Diagnostic Performance Metrics |
|---|---|---|
Matsuyama et al | 86% | Better visual quality and detection rates |
Various studies | 38% – 86% | Differences in visual and diagnostic results |
Tip: If tests find problems, check cables and the cooling system.
Installing Drivers and Firmware
To make your AI accelerator work well, install the right software. First, check the current software version. Use the command cat /etc/mendel_version to see the Mendel version. If it’s 2.0 or older, update it. Follow the maker’s guide to get the latest version.
Next, install drivers. Start with the Kernel Mode Driver (KMD), which includes the i915 driver. Then, set up the Intel Graphics Compute Runtime. For local installation, follow Intel’s guide to place files in the system. For shared installation, download packages from Intel’s website.
Finally, update the board’s software. Connect to the Coral Dev Board using MDT or a serial console. Run sudo apt-get update to refresh files. Then, run sudo apt-get dist-upgrade to upgrade the software. Reboot the board with sudo reboot now if needed.
Note: Always use updated drivers and firmware for the best performance.
Running Performance Benchmarks
Performance tests show how well your AI accelerator handles tasks. These tests measure speed, energy use, and overall ability. Speed shows how many tasks the board completes in a set time. Energy use measures how much data is processed per watt. Overall ability checks how the board performs across tasks.
The table below explains key performance measures:
Performance Indicator | Description |
|---|---|
Throughput | Measures how many tasks the board completes in a set time. |
Energy Efficiency | Shows how much data is processed per watt, helping manage power use. |
Effective Computing Capacity | Checks overall performance across tasks without limits, based on speed. |
Use tools suggested by the board’s maker to run these tests. Compare results to expected numbers. If the board doesn’t perform well, check your assembly steps for mistakes.
Alert: Don’t run tests too long without checking the cooling system. Overheating can harm the board and affect results.
Fine-Tuning Settings for Efficiency
Making small changes to your AI accelerator board settings can help it work better and use less energy. Adjusting certain options lets you set up the board for your tasks. Follow these simple steps to improve your board:
Change Power Settings
You can lower how much power the board uses. This saves energy and keeps it cooler, but it might slow it down a little. Check the manual for ways to adjust power. Use tools likenvidia-smi(for NVIDIA GPUs) to watch and change power levels.Set Clock Speeds
Faster clock speeds make the board work quicker but create more heat. Test the default speed first. Slowly increase it while checking the temperature and if it stays stable. If it gets too hot or stops working, lower the speed a bit.Tip: Use software from the maker to safely change clock speeds.
Adjust Memory Settings
Good memory use is important for AI tasks. Turn on memory compression if the board has it. This makes memory faster and more efficient. Match memory settings to your task. For example, deep learning needs more memory than simple tasks.Use Performance Modes
Some boards have special modes for tasks like training or inference. These modes automatically pick the best settings for your work. Choose the mode that fits your task to save time.Test Your Changes
After changing settings, check if the board works better. Use tools like TensorFlow Profiler or PyTorch Profiler to measure how well it performs. Compare results to see if your changes helped.
Note: Write down every change you make. This helps you go back to old settings if needed.
Fine-tuning settings makes your AI accelerator board work smarter and faster for your projects.
Avoiding Mistakes and Troubleshooting AI Accelerator Issues
Preventing Static Damage During Assembly
Static electricity can damage your AI accelerator board parts. Take steps to avoid this problem.
Follow these simple tips to keep your board safe:
Wear an Anti-Static Wrist Strap: Put the strap on your wrist. Attach it to a grounded object to stop static buildup.
Use an Anti-Static Mat: Place the mat on your table. It gives a safe area for handling parts.
Avoid Carpets and Rugs: These surfaces create static electricity. Work on a hard floor instead.
Handle Parts Gently: Hold parts by their edges. Don’t touch pins or connectors directly.
Tip: Always ground yourself before touching any board part. This easy step can prevent expensive repairs.
By following these tips, your board will stay safe from static damage.
Ensuring Proper Cable Connections
Wrong cable connections can cause problems or harm your AI accelerator board. Check each connection carefully to avoid issues.
Steps to Check Cable Connections:
Look at Cables: Check for damage like broken wires or bent ends. Replace damaged cables right away.
Match Ports and Connectors: Use the manual to find the right ports for each cable. Wrong connections can cause errors.
Secure Each Cable: Push cables firmly into their ports. Loose cables can stop power or data flow.
Test with a Multimeter: Check if cables carry electricity properly using a multimeter.
Alert: Never force a cable into a port. If it doesn’t fit, check if it’s the right one.
Good cable connections help your board work well and avoid future problems.
Fixing Power and Boot Problems
Power and boot issues are common during setup. You can fix them by checking parts and connections step by step.
Steps to Fix Power and Boot Problems:
Check the Power Supply: Make sure the power supply matches your board’s needs. Test it with a multimeter.
Inspect Power Cables: Look for loose or broken cables. Replace them if needed.
Check Boot Errors: Connect the board to a screen. Look for error messages during startup. These messages show what’s wrong.
Reset the Board: If it won’t start, reset it. Follow the maker’s guide for safe resetting.
Update Firmware: Old firmware can cause problems. Install the latest version to fix this.
Note: If the board still won’t start, contact the maker’s support team for help.
Fixing power and boot problems quickly ensures your AI accelerator board works as it should.
Addressing Overheating Problems
Overheating can harm your AI accelerator board and shorten its life. Heavy tasks make the board hot, which can cause damage like broken solder joints or overheating issues. To keep it working well, use good cooling methods and materials.
Picking the Best Cooling Method
Choose a cooling method based on your board’s needs. Here are two effective options:
Immersion Cooling: This method dips the board in a special liquid or uses strong airflow. It cools well but costs more and is harder to set up.
Cold Plate Cooling: This method moves heat away from the chip using special materials. It’s common and works well for most AI hardware.
Tip: If money is tight, try cold plate cooling. It’s affordable and effective.
Using Materials That Cool Well
The materials in your cooling system matter for heat control. Below is a table comparing popular cooling materials:
Material | |
|---|---|
Copper | ~400 |
Coherent Ceramic + Diamond (SiSiC/70% diamond) | ~670 |
Coherent Poly-crystalline CVD Diamond | ~1500 |
Poly-crystalline CVD diamond cools the best but costs more. Copper is cheaper and still works well for heat transfer.
Steps to Stop Overheating
Follow these steps to keep your AI accelerator board cool:
Add a Good Cooling System: Pick one that fits your board. Attach it securely and align it with the chip.
Use Thermal Paste Properly: Spread a thin layer of paste between the chip and cooler. This helps heat move better and stops air gaps.
Check Temperatures Often: Use software to watch the board’s temperature. Set alerts for unsafe heat levels.
Clean the Cooling Parts: Dust can block airflow and lower cooling. Clean fans and vents often.
Balance Workloads: Don’t run the board at full power for too long. Spread tasks to avoid heat buildup.
Alert: Never use your board without cooling. Even a few minutes of overheating can cause serious damage.
By following these tips, your AI accelerator board will stay cool and work efficiently.
Building an AI accelerator board needs careful steps. First, gather tools and set up a clean workspace. Next, check and install parts like the chip, cables, and cooler. After that, test and adjust to make it work well. Each step is important for a strong and efficient board.
Being prepared, precise, and testing often are key to success. By following these steps, you avoid mistakes and get the best results. Be proud of your work and enjoy using your custom-built AI board for your tasks.
FAQ
What does an AI accelerator board do?
An AI accelerator board makes tasks like training AI models faster. It handles tough calculations quickly, making it great for AI work.
How does a systolic array accelerator help performance?
A systolic array accelerator works on data at the same time. This cuts down the time needed for calculations, especially for deep learning.
Can I use a special circuit for AI tasks?
Yes, a special circuit made for AI tasks works very well. It is built for specific jobs, saving energy and giving top performance.
What if my AI accelerator board gets too hot?
Check the cooler and clean dust from fans or vents. Make sure thermal paste is spread properly. If it still overheats, lower the workload or get a better cooler.
How can I test my AI accelerator board after building it?
Use tools to check if it works right. Run tests to see how fast and efficient it is. If there are problems, check wires and update the software.
See Also
A Detailed Walkthrough of the PCBA Production Journey
Ten Pro Tips for Cost-Effective PCBA Assembly Success
Grasping the Fundamentals of PCBA Production and Assembly