Smart technology is very important for improving the LED light circuit board. It helps you make better and more flexible projects. The DIY electronics community is growing because it is easy to find parts and tools. As you dive into this fun area, you will feel the happiness of creating new things. You will also enjoy learning by doing projects yourself.
Key Takeaways
Collect important parts like LEDs, resistors, and a power source to make your smart LED circuit board.
Use a simple plan for your circuit design. This includes details and choosing materials to help you build it right.
Fix common problems like loose wires and not enough power to keep your LED circuit working well.
Components for LED Circuit
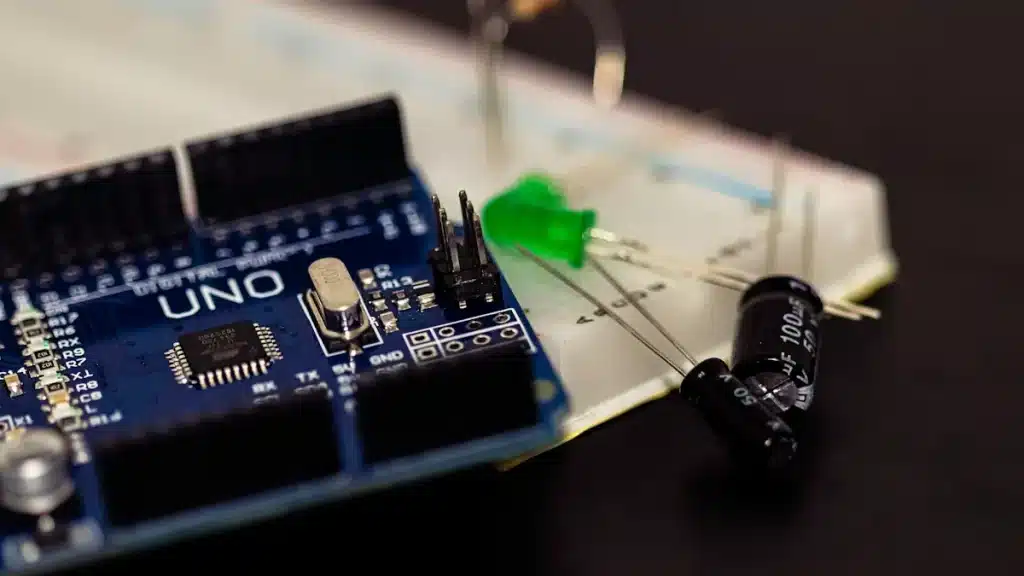
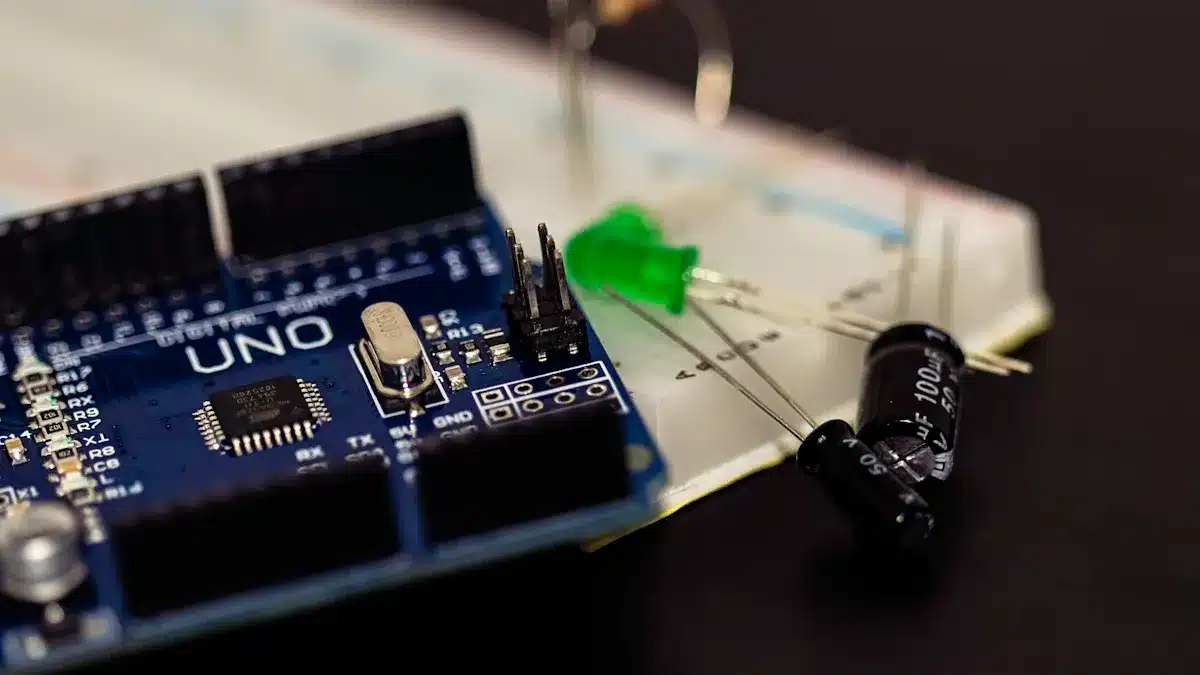
To build a smart LED circuit board, you need special parts and tools. Knowing these basics will help you make a great project.
Required Materials
First, collect these materials:
LEDs: These are the main part of your circuit. In 2025, popular types are:
2835, 3528: Used for general lighting in LED strip PCB boards.
5050, 5060: Bigger packages for higher brightness or RGB LED PCB boards.
3014, 4014: Thin SMDs used for backlighting in LED TV PCB boards or monitors.
COB (Chip-on-Board): Combines many chips on one PCB to make a big, even light surface.
Resistors: These parts limit the current going through the LEDs. Here’s a table of suggested resistor values and their power ratings:
Resistor Value (Ω) | Power Rating (W) | Notes |
|---|---|---|
10 Ω | 1/4 W | Common value |
12 Ω | 1/4 W | Common value |
15 Ω | 1/4 W | Common value |
18 Ω | 1/4 W | Common value |
22 Ω | 1/4 W | Common value |
27 Ω | 1/4 W | Common value |
33 Ω | 1/4 W | Common value |
39 Ω | 1/4 W | Common value |
47 Ω | 1/4 W | Common value |
51 Ω | 1/4 W | Common value |
56 Ω | 1/4 W | Common value |
68 Ω | 1/4 W | Common value |
75 Ω | 1/4 W | Common value |
82 Ω | 1/4 W | Common value |
510 Ω | 1/4 W | Common value |
5.1K Ω | 1/4 W | Common value |
51K Ω | 1/4 W | Common value |
Power Source: Pick a power supply that fits the voltage needs of your LEDs. Most LED circuits work at 5V or 12V.
Microcontroller: This part controls the LEDs. Popular choices are:
Adafruit Scorpio Feather 2040: Works with WS2812 LEDs.
Pixelblaze Standard: Has a built-in pattern library and web control.
Recommended Tools
You will also need some important tools for building:
Soldering Iron: This tool connects parts securely.
Wire Strippers: Use these to prepare wires for connections.
Multimeter: This device checks voltage, current, and resistance to ensure your circuit works right.
Breadboard: A useful tool for testing your circuit without soldering.
Pick-and-Place Machine: Places surface-mounted parts on the PCB accurately.
Reflow Oven: Heats the PCB to melt solder paste, holding parts in place during the process.
By collecting these parts and tools, you prepare yourself for success in making your smart LED circuit board.
Building a Simple LED Circuit
Preparing the Circuit Board
Before you start putting together your simple LED circuit, get your circuit board ready. Follow these steps to make sure your build goes well:
Define Specifications: Decide how many LEDs you will use, how they will be arranged, and what power they need.
Use PCB Design Software: Use programs like AutoCAD or Altium to make a clear plan of your circuit.
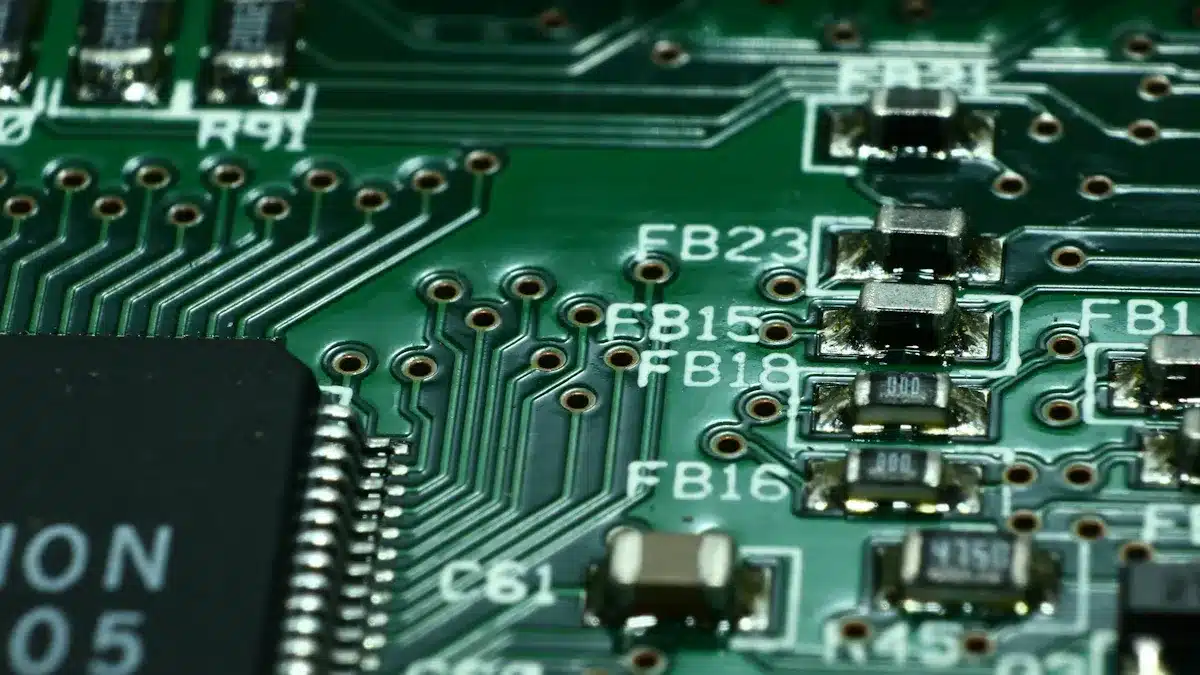
Material Selection: Pick the right materials like FR4 or aluminum. Think about thickness and copper weight for the best results.
Effective Heat Dissipation: Use metal-core PCBs or heat sinks to help manage heat buildup.
Current Control: Add current-limiting resistors or constant-current drivers to keep your LEDs bright and steady.
Component Placement: Arrange everything for good light spread and even brightness.
Signal Integrity: Carefully design signal paths and ground areas to reduce interference.
By doing these steps, you create a strong base for your LED circuit.
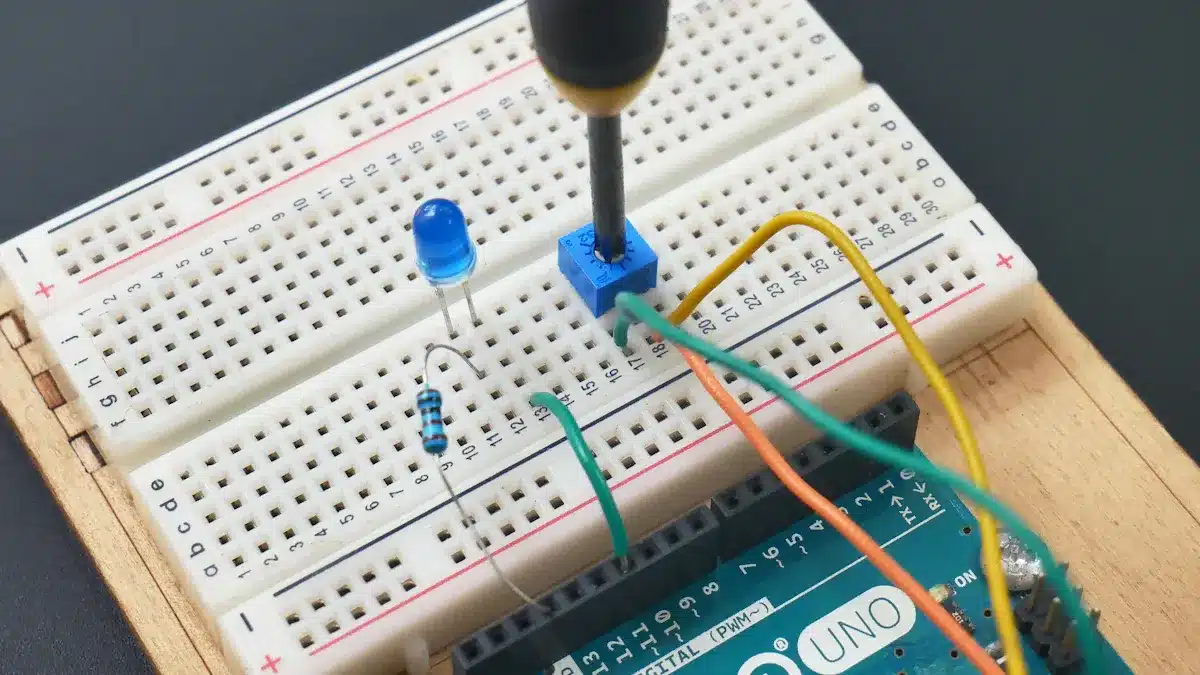
Connecting the Components
Now that your circuit board is ready, it’s time to connect the parts. Here’s a simple guide to help you build a basic LED circuit:
A Single LED: Connect the positive side of the LED to the positive side of the battery. Connect the negative side to the negative side. Use a resistor to limit the current. Find the resistor value using Ohm’s law.
Soldering the Single LED Circuit: Strip the insulation from wires, tin the ends, and solder them to the LED legs. Connect the resistor and battery wires.
Multiple LEDs: Copy the LED and resistor setup and connect them in parallel. Make sure each LED has its own resistor to keep brightness even.
Soldering the Multiple LED Circuit: Join all the positive and negative sides of the circuits before connecting to the battery.
Enjoy!: Use the circuit in fun projects like toys or decorations.
To add smart technology to your LED circuit, think about using the MAX25605 sequential LED controller. This device makes it easy to add special lighting features. It cuts down on design work by not needing a microcontroller or software. You can control up to three LEDs per switch and connect up to 16 devices. This helps you set up timing, direction, and dimming options.
Tip: Always test your circuit before you finish. Run tests in real conditions to make sure everything works. Look for common mistakes like bad layout or wiring errors to avoid problems later.
By following these steps and tips, you can build a simple LED circuit that lights up and has smart features for better use.
Troubleshooting LED Circuit Issues
When you build your smart LED circuit, you might face some common problems. Finding these issues early can save you time and stress.
Common Problems
Here are some usual issues you may see:
Loose Wiring: Bad connections can cause flickering lights.
Faulty Connectors: Broken or wrong connectors can stop the circuit.
Insufficient Power Supply: If your power source is weak, your LEDs may not turn on.
Overheating: Too much heat can harm your LEDs and other parts.
Electrical Overstress: Using too much voltage can cause instant failure.
Solutions
To fix these problems, do these steps:
Inspect and Secure Connections: Look at all wires and connectors. Make sure they are tight and connected well.
Replace Faulty Components: If you find broken connectors or parts, swap them with good ones.
Verify Power Supply: Check that your power source fits the voltage and current needs of your circuit.
Re-solder Poor Connections: If you see weak solder joints, re-solder them for a strong connection.
Use Quality Components: Pick good parts to lower the chance of failure.
Tip: Regular maintenance can stop many problems. Clean your circuit board and check connections often. This helps keep your circuit working well and makes your LED circuit last longer.
By knowing these common problems and solutions, you can troubleshoot easily and keep your smart LED circuit working well.
Building a smart LED circuit board has some important steps:
Planning Your LED Strip PCB Design: Spend time planning your project to avoid errors.
Designing the PCB Layout for Your LED Strip: Make a schematic and layout for good connections.
Manufacturing Your Custom PCB with Online Services: Use online services to create your PCB after you design it.
Assembling and Soldering Your LED Strip PCB: Put together parts and solder them onto the PCB.
Testing and Troubleshooting Your LED Strip: Test the finished PCB to check if it works and fix any problems.
Installing and Using Your Custom LED Strip: Set up the LED strip where you want to use it.
Try out different designs! Think about arranging RGB LEDs in cool patterns or using old materials for a fun twist. Working on DIY electronics projects helps you learn and be creative. 🌟
FAQ
What is a smart LED circuit board?
A smart LED circuit board uses advanced technology to control LED lights. You can program it for various effects and functions.
How do I choose the right power supply for my circuit?
Select a power supply that matches your LED light circuit board’s voltage requirements. Most circuits operate at 5V or 12V.
Can I use different types of LEDs in one circuit?
Yes, you can mix different LED types. Ensure each type has the correct resistor to maintain brightness and prevent damage.
See Also
Exploring Benefits And Challenges Of Flex PCBA Today
Streamlined PCBA Solutions For Quick Electronics Projects
Emerging Trends Shaping PCB And PCBA Manufacturing