Learning how to make an electrical circuit can boost your curiosity and creativity. You can gain useful skills by building simple circuits. This knowledge helps you understand technology better. It also improves your problem-solving skills and encourages you to ask questions. You will feel proud of making something real while exploring the exciting world of electronics.
Key Takeaways
Making a simple electrical circuit boosts your creativity and problem-solving skills. It lets you try out technology in a hands-on way.
Always put safety first by wearing insulated gloves and goggles when working with electrical parts. This helps stop shocks and burns.
If your circuit does not work, check the connections, test the battery, and look at the parts. Fixing problems is important for building circuits successfully.
How to Make an Electrical Circuit
Making a simple electrical circuit is fun and rewarding. Before you begin, you need to know the basic parts. Understanding how power sources and wires work is important for safety. Good wiring reduces resistance and improves energy use. This knowledge helps avoid dangers like electrical fires and shocks.
Materials Needed
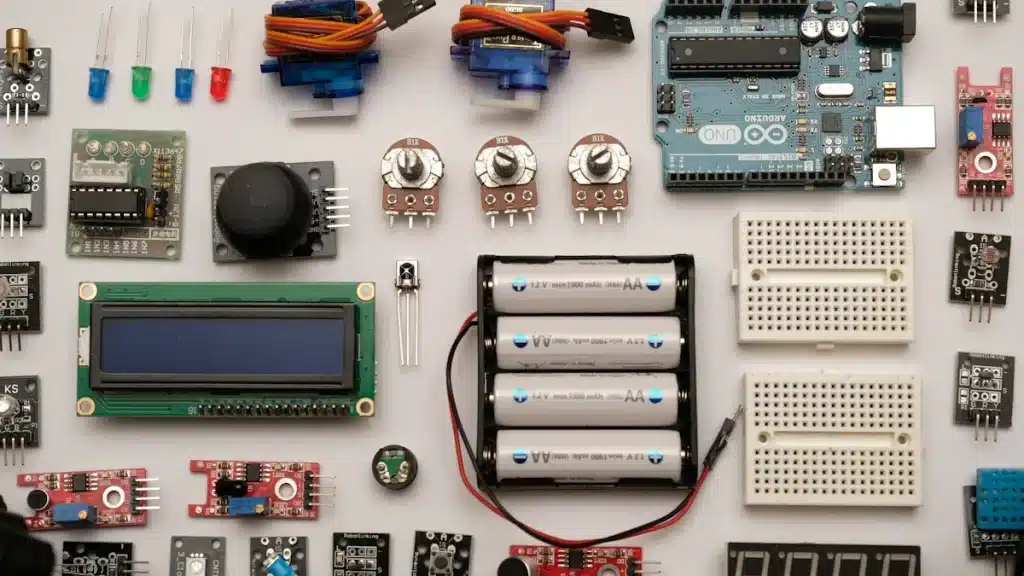
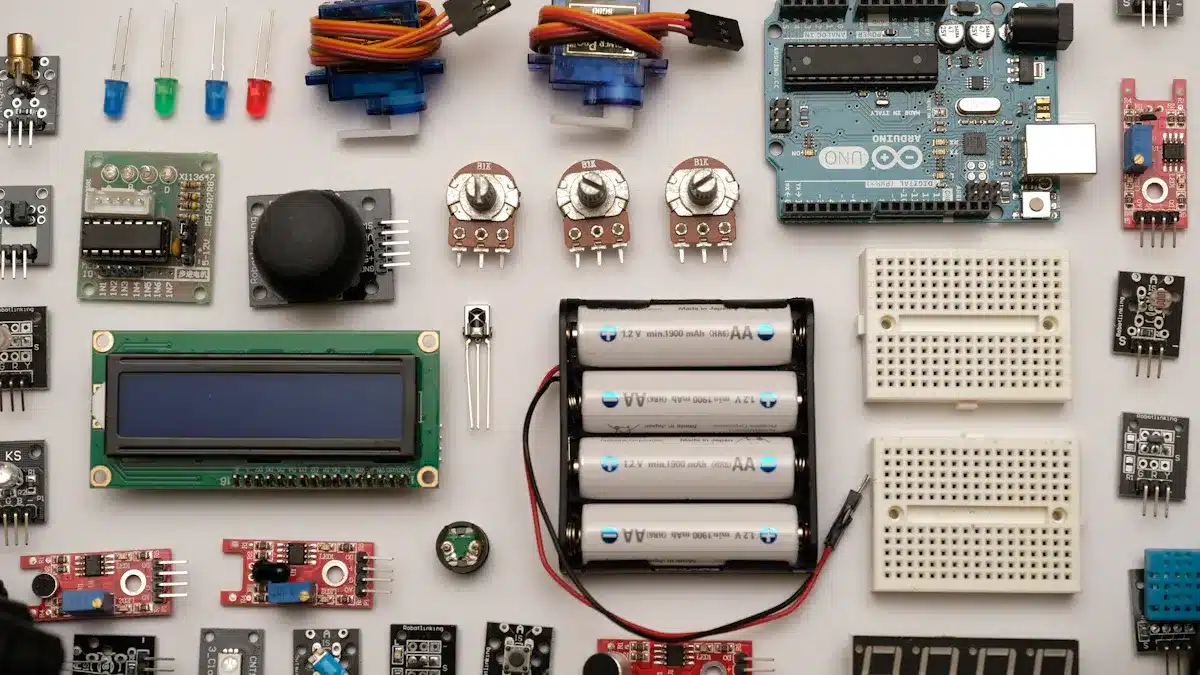
To build your simple electrical circuit, collect these materials:
Power Source: A battery or battery pack gives the needed voltage.
Conductors: Wires connect the parts and let current flow.
Resistors: These manage the current flow in the circuit.
Capacitors: They store and release electrical energy.
Switches: Use these to turn the circuit on and off.
Diodes: These control the direction of current flow.
Breadboard: This helps mount and connect parts without soldering.
Jumper Wires: These connect parts on the breadboard.
LEDs: These act as visual signals in your circuit.
Tip: Always wear insulated gloves and safety goggles when using electrical parts. This keeps you safe from shocks and burns.
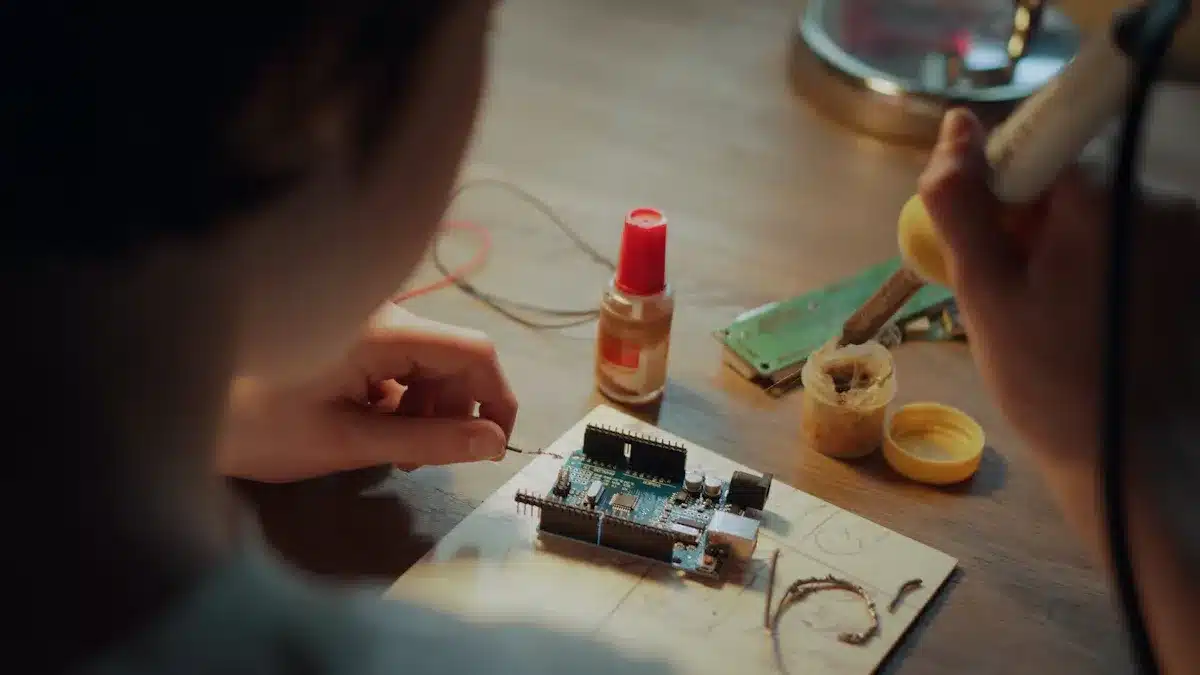
Step-by-Step Instructions
Follow these steps to make your simple electrical circuit:
Prepare the Battery: First, make sure your battery is charged. Connect one end of a wire to the positive side of the battery.
Connect the Light Bulb: Attach the other end of the wire to one side of the light bulb. This lets the current flow into the bulb.
Complete the Circuit: Take another wire and connect one end to the negative side of the battery. Connect the other end to the second side of the light bulb.
Add a Switch: If you want to control the circuit, put a switch between the wire connected to the battery and the light bulb. This lets you turn the circuit on and off easily.
Test Your Circuit: Close the switch to finish the circuit. If everything is connected right, the light bulb should light up.
Note: If the light bulb does not light up, check your connections. Make sure all wires are attached well and that the battery works.
By following these steps, you can easily build a simple electrical circuit. It feels great to see your circuit work!
Building a Simple Circuit
Installing a Switch
Installing a switch is a crucial step in building a simple electrical circuit. A switch allows you to control the flow of electricity, making it easy to turn your circuit on and off. Here are some common types of switches you might use:
Switch Type | Description |
|---|---|
SPST | Controls current flow of a single input (on/off). |
DPST | Controls two inputs separately, useful for two devices. |
SPDT | Switches a single input between two outputs (e.g., two LEDs). |
To install a switch, follow these steps:
Choose the Right Location: Decide where you want to place the switch in your circuit.
Connect the Wires: Cut the wire leading from the battery to the light bulb. Strip the ends of the wire and connect one end to each terminal of the switch.
Secure Connections: Ensure all connections are tight. Loose connections can cause the circuit to fail.
Troubleshooting Tips
If your light bulb does not illuminate, don’t worry! Here are some troubleshooting steps to help you identify the issue:
Check the Power Source: Ensure the battery is charged and properly connected.
Inspect the Light Bulb: Replace the bulb if it is burned out.
Examine the Lamp Switch: Look for mechanical issues and replace the switch if necessary.
Fix Faulty Wiring: Inspect all wiring for damage and repair as needed.
Test the Socket: Insert a known working bulb to check for socket issues.
By following these steps, you can successfully build a simple circuit and troubleshoot any problems that arise. Remember, practice makes perfect!
Troubleshooting Your Circuit
When you make a simple electrical circuit, you might face some common problems. Finding these issues early can save you time and stress. Here are some usual problems you may see:
Bad connections when putting it together
Not enough outlets for today’s needs
Safety risks from old wiring
If you have any of these problems, try these solutions to fix your circuit:
Inspect Connections: Check for loose or wrong wires. Make sure all connections are tight and secure.
Check Component Quality: Use good quality parts. Cheap parts can cause circuit failures and higher costs. Always pick reliable parts for your circuit.
Test for Damage: Look for visible damage or loose parts. Smell for burnt parts to find possible failures. Feel for hot parts to check for overheating.
To help you troubleshoot well, think about using these tools:
Digital multimeter
Analog multimeter
Oscilloscope
If you still have problems after checking these areas, do these steps:
Check the Power Supply: Measure the voltage at the circuit’s power points with a multimeter. Make sure your battery or battery pack works well.
Test Individual Components: Use a multimeter to check resistors, capacitors, diodes, and transistors. This helps find broken parts.
Inspect the Circuit Breaker Box: Look for tripped breakers and reset them if needed. This can often fix power problems.
Look for Loose Connections: Make sure all wires are connected right. Loose connections can make your circuit fail.
Tip: If troubleshooting does not fix the problem, ask a professional electrician for help. They can ensure safety and proper handling of electrical systems.
Continuity testing can also help find problems in your circuit. This method checks if current can flow through a circuit. It measures resistance between two points. Low resistance means a closed circuit, while high resistance means an open circuit. Continuity testing can find broken wires and bad connections.
By following these troubleshooting steps, you can fix issues in your simple electrical circuit. Remember, practice makes perfect!
Building a simple electrical circuit gives you useful skills and knowledge. You will learn about important parts like wires and power sources. Knowing these basics helps you with more complicated electronics.
You might want to check out these resources for more learning:
Doing hands-on projects, like making a flashlight or a buzzer doorbell, can help you understand better and boost your creativity.
FAQ
What is a circuit?
A circuit is a closed loop that allows electricity to flow. It connects components like a battery and a light bulb.
How do I know if my battery is working?
You can test your battery by connecting it to a light bulb. If the bulb lights up, the battery works.
Why is my light bulb not lighting up?
Check your connections and ensure the battery is charged. A burned-out light bulb can also cause this issue.
See Also
Streamlined PCBA Solutions for Your Electronics Projects
Ten Essential Tips for Cost-Effective PCBA Assembly
Key Strategies to Improve PCB Assembly Productivity
Reliable Advice for Choosing Optimal PCB Assembly Services
Effective Strategies to Advance Your PCBA Engineering Skills