
Testing how to test emitter circuit board parts is very important. It helps ensure they work well and are reliable. If you do not test them properly, you might face significant problems. These problems can hurt performance. Some common issues during testing include:
Soldering mistakes, like cold joints and bridging.
Wrongly placed components that can cause expensive problems.
Warped boards that can change how they work.
Electrical noise that can mess up system operations.
These issues highlight why you need good methods and tools for how to test emitter circuit board parts. Conducting thorough testing can save time and money. It also enhances how well your circuits perform.
Key Takeaways
Testing emitter circuit board parts is very important. It helps make sure they work well and last long. Good testing can stop expensive problems.
Use important tools like multimeters and oscilloscopes. These tools measure voltage and current. They also help you see signals.
Do careful visual checks before electrical testing. Look for soldering problems and check component placements. This helps find issues early.
Use a step-by-step way to fix problems. Collect information, find the issues, and do specific tests. This helps you fix problems quickly.
Regular testing and care of circuit boards make them last longer. Set up a routine to prevent costly failures.
Tools for Testing
To test emitter circuit board parts, you need good tools. Two important tools are the multimeter and the oscilloscope. Each tool has a special job to make sure the circuit board works right.
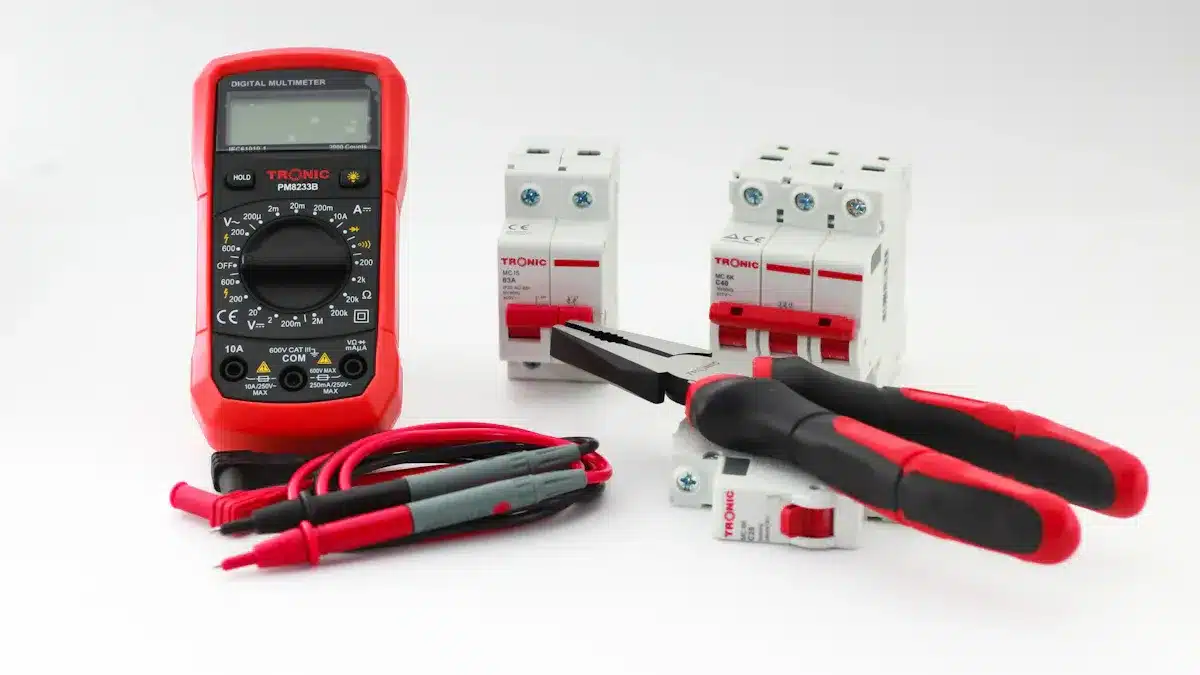
Multimeter
A multimeter is a handy tool that checks voltage, current, and resistance. You can use it to see if different parts on the circuit board work well. Here are some main jobs of a multimeter:
Voltage Measurement: You can check both AC and DC voltage levels. This shows if the circuit board gets the right voltage.
Current Measurement: The multimeter helps you measure current flow through parts. This is important for finding power problems.
Resistance Measurement: You can check the resistance of parts to make sure they are okay.
When using a multimeter, always be safe. Here are some tips to follow:
Look over the multimeter and test probes for damage before using them.
Test the multimeter with a known voltage source to make sure it works.
Always think that electrical parts are live until they are safely discharged.
Wear personal protective equipment (PPE) when working with live circuits, especially those over 50 V.
Never work alone near live equipment.
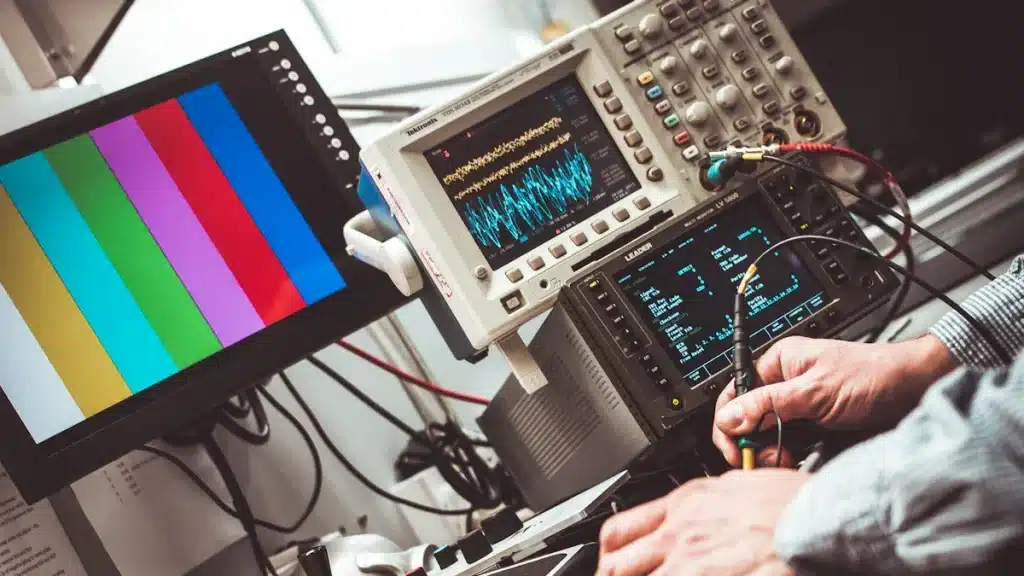
Oscilloscope
An oscilloscope is another key tool for testing emitter circuit boards. It shows a visual picture of changing signals over time. This helps you see how the circuit behaves. Here are some specific uses of an oscilloscope in testing:
Waveform Visualization: You can see waveforms to learn how the circuit reacts to signals. This helps find problems during operation.
Quantifying Waveform Characteristics: The oscilloscope measures important features like amplitude, frequency, and duty cycle. This is important for checking how well emitter circuit boards work.
Timing Measurements: You can measure timing features, like rise and fall times, which are important for proper function.
By measuring voltage at different spots in the circuit, oscilloscopes show waveforms that reveal key features. This ability is vital for checking circuit performance and finding any problems that may come up.
How to Test Emitter Circuit Board Part
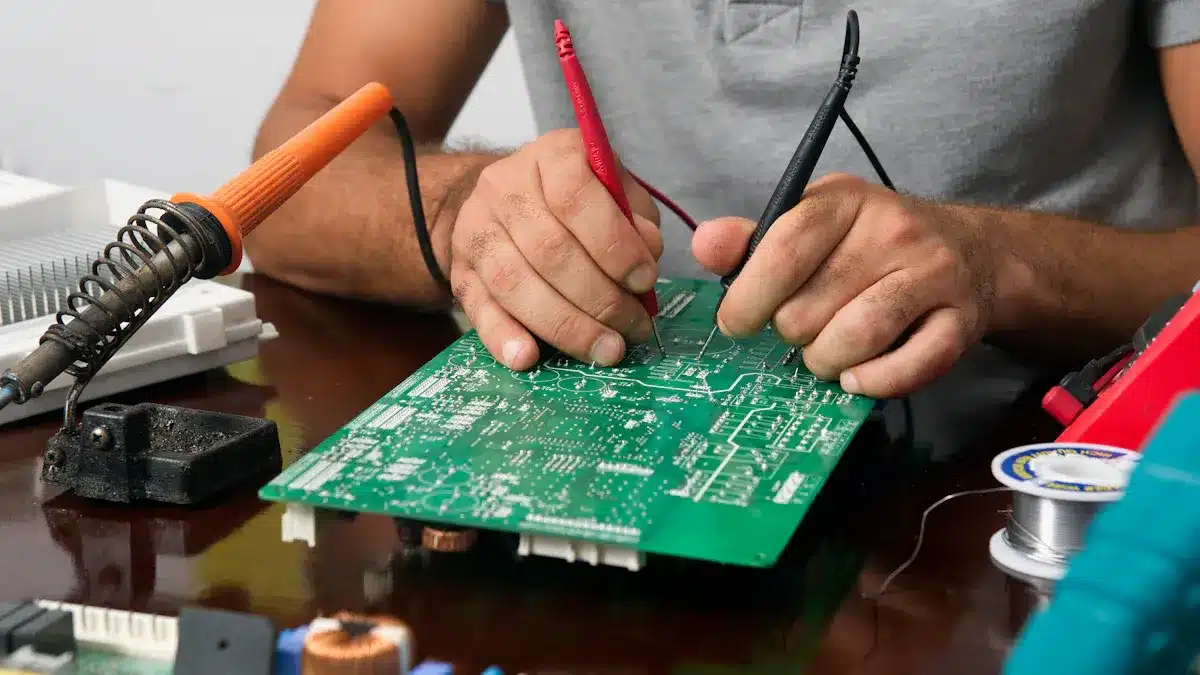
Testing emitter circuit board parts needs a clear plan. Start with looking closely at the board. Then, do electrical tests. This way, you can find problems early and keep your circuit board working well.
Visual Inspection
Visual inspection is an important first step. It helps you spot problems that electrical tests might miss. Here are some tips for doing a good visual inspection:
Utilize Magnification Tools: Use lenses or digital microscopes to see small details. Aim for 5x to 10x magnification.
Conduct the Inspection: Carefully check the PCB. Look for correct component placement and connections. Write down any issues using a checklist.
Final Review and Documentation: After finding problems, do a final check. Make a detailed report to track issues and help improve.
Use Checklists: Custom checklists help you remember all important inspection points.
Lighting Techniques: Use different lighting to find hidden defects.
Regular Calibration of Equipment: Regularly check your tools to keep them accurate for finding defects.
Continuous Training: Keep training inspectors to learn new techniques and standards.
Comparison with Reference Samples: Use perfect samples during inspections to spot quality issues.
Common visual defects include soldering problems, open joints, and too much solder. These issues can cause bad connections and circuit failures. By following these tips, you can lower the chances of missing important defects.
Electrical Testing
After visual inspection, do electrical testing. This checks how well the circuit board works in different situations. Here are some good electrical testing methods:
Testing Method | Description | Advantages/Disadvantages |
|---|---|---|
Uses a special fixture to test things like resistance and capacitance. | Very accurate and covers a lot, but needs custom fixtures, which can be expensive and take time. | |
Flying Probe Testing (FPT) | Non-contact method using moving probes to test points on the board. | Cost-effective and flexible for low to medium amounts, but slower and covers less than ICT. |
Functional Circuit Testing (FCT) | Tests overall function by simulating real operating conditions. | Finds performance issues but needs special equipment and can make troubleshooting harder. |
Boundary Scan (JTAG) | Uses built-in test circuits for direct access to parts. | High test coverage and good for crowded boards, but needs compatible parts and is hard to set up. |
You should also test performance under different conditions. This checks if the board meets the needed standards. Environmental testing is important too. Expose the board to temperature and humidity to test its strength. Compliance checks make sure the circuit board follows industry rules, like RoHS or FCC. Finally, do quality control checks to look for any remaining defects.
By following these steps, you can effectively test emitter circuit board parts. This clear plan helps ensure they work well and are reliable, leading to better performance.
Common Issues in Testing
When you test emitter circuit boards, you might see some common problems. Finding these issues early can save time and make your circuits more reliable.
Component Failures
Component failures happen often during testing. You can find broken parts using different checking methods. Here are some good ways to do this:
Description | |
|---|---|
Visual Inspection | This first check helps you see clear damage or problems. |
Thermal Analysis | Use thermal cameras to find temperature issues in parts. |
Frequency Domain Analysis | Spectrum analyzers can spot frequency problems in circuits. |
Boundary Scan Testing | This method tests internal parts in digital circuits without needing to touch them. |
Component-Level Techniques | Special testing methods for different parts can help you find problems faster. |
By using these methods, you can quickly find issues and make sure your circuit board works well.
Soldering Problems
Soldering problems can also cause big issues in your circuit board. Some common problems are:
Lifted Pads: Too much heat can make pads lift off the board.
Solder Balling: Moisture can turn to steam when soldering, causing solder balls.
Tombstoning: This happens when there is uneven heat during soldering.
Also, not handling parts correctly can lead to weak joints and bad connections. These problems can hurt how well your circuit board works. Fixing soldering issues during assembly is very important for keeping quality high.
In summary, both component failures and soldering problems can slow down your testing. By knowing about these issues and using good checking methods, you can make your emitter circuit boards more reliable.
Troubleshooting Tips
Troubleshooting emitter circuit board parts can be tough. But if you use a clear plan, you can find and fix problems faster. Here are some tips to think about:
Systematic Approach
Gather Relevant Information: Start by collecting all important papers, like schematics and datasheets. This information helps you troubleshoot better.
Isolate the Problem Area: Focus on the part of the circuit board where you think the problem is. This helps you test more effectively.
Perform Targeted Tests and Measurements: Use your multimeter and oscilloscope to test in the area you found. This step helps you check voltage levels, current flow, and signal quality.
Analyze the Results: Look over the data you gathered. Check for any strange readings that might show a problem.
Implement a Solution: After finding the issue, take steps to fix it. This could mean changing a broken part or fixing a solder joint.
By following these steps, you can make your troubleshooting easier and increase your chances of fixing the problem.
Using Reference Designs
Reference designs are helpful tools during troubleshooting. They show tested layouts and setups that can help guide your testing. Here are some ways to use reference designs well:
Compare with Known Good Circuits: Use reference designs to check your circuit board against a working version. This can help you find differences that might show problems.
Identify Common Problems: Reference designs often show common issues and how to fix them. Knowing these can save you time while troubleshooting.
Utilize Circuit Simulation Tools: Tools like Cadence PSpice let you simulate your circuit based on reference designs. This can help you find design problems, like timing issues and signal quality problems.
Also, think about using online resources for more help. Here are some useful databases:
Electronic Component Reliability Database: This database gives data for checking electronic component reliability, including failure rates and performance over time.
Digi-Key: Search by part numbers and find detailed information for components.
Octopart: Filter by voltage, size, or function to find components more easily.
By using reference designs and online resources, you can improve your troubleshooting skills and make sure your emitter circuit boards work well.
In conclusion, testing emitter circuit board parts well means using important tools like multimeters and oscilloscopes. You need to do careful visual checks and electrical tests to find problems early. Regular testing is very important for keeping your circuit boards working well and lasting longer.
Think about these main testing methods:
Purpose | |
|---|---|
Accelerated Life Testing | This predicts how long the board will last by simulating years of use to find design problems. |
Solder Float Testing | This checks how well the board can handle heat and if it warps or separates during soldering. |
Peel Test | This measures how strong the copper traces stick to the board to make sure they last and work well. |
By setting up a regular maintenance plan, you can make your circuit boards more reliable. Doing regular checks and updates will help you avoid expensive failures and meet industry rules.
FAQ
What is the purpose of testing emitter circuit board parts?
Testing makes sure the circuit board works well and reliably. It helps find problems that could hurt performance and how long it lasts.
How often should I test my circuit boards?
You should test your circuit boards often, especially after putting them together and before using them. Regular checks help find problems early.
What are common tools used for testing?
Common tools are multimeters for checking voltage and current, and oscilloscopes for seeing signal waveforms. Both are important for good testing.
What should I do if I find a faulty component?
If you find a broken part, replace it right away. Make sure to follow the right steps to avoid hurting the circuit board more.
Can I perform tests without specialized equipment?
You can do basic tests with simple tools, but special equipment like oscilloscopes gives better results. Buying good tools is worth it in the end.
See Also
Innovative PCBA Testing Strategies for Modern Electronics Production
Proven Approaches to Perform PCBA Failure Investigations
Streamlining PCBA Testing Through Automation for Enhanced Precision