
Electronic circuits are very important for today’s technology. You find them in devices like smartphones and home appliances. Making your first circuit can be exciting. It helps you see your ideas become real. You will feel proud when you create something you can touch. Keep in mind, anyone can learn to build electronic circuits with good help and tools. Begin with simple projects, and soon you will grow your skills and confidence.
Key Takeaways
Begin with easy projects. This helps you gain confidence and skills in circuit design.
Learn basic ideas like voltage, current, and resistance. This will help you build circuits better.
Stay away from common errors. Don’t skip circuit theory or forget to check connections. This makes sure your projects work right.
Collect important tools. A soldering iron and multimeter will make building circuits easier and more fun.
Check and fix your circuits. Use methods like looking closely and testing parts to find and solve problems.
Basic Concepts
What is Electricity?
Electricity is energy that comes from moving charged particles, usually electrons. Knowing about electricity is very important if you want to build electronic circuits. Here are some basic facts about electricity that you should learn:
Definition | Unit | |
|---|---|---|
Voltage | This measures the difference in electrical energy between two points | Volts |
Current | This measures how many electrons flow through a point in a circuit | Amperes |
Resistance | This measures how much a material stops the flow of electricity | Ohms |
Voltage shows the force that pushes electric charges in a circuit. Current tells how many electrons are flowing, while resistance shows how much a material slows that flow. These facts work together based on Ohm’s Law. Ohm’s Law says that current (I) equals voltage (V) divided by resistance (R). This rule helps you design circuits better.
How Circuits Work
Circuits are paths that let electricity flow. They have different parts, and each part has a special job. Here are some key parts needed for a simple electronic circuit to work:
Function | |
|---|---|
Resistors | Control how much current flows, keeping it at the right level. |
Capacitors | Store and release energy, acting like temporary energy holders. |
Inductors | Store energy in a magnetic field, useful for filtering and tuning. |
Transistors | Work as amplifiers or switches, boosting signals or controlling current. |
Knowing how these parts work together is important for good circuit design. You can make different kinds of circuits, like series and parallel circuits.
Have one path for current. If one part fails, the whole circuit stops.
Voltage splits among parts, so each gets some of the total voltage.
The same current flows through all parts.
Parallel Circuits:
Provide many paths for current, letting parts work on their own.
Each part gets the full voltage from the power source.
Total current splits among branches based on resistance.
Before you start building, it’s important to understand these basic ideas. Knowing about electricity and circuits makes your projects work better. It helps you design circuits correctly and identify parts easily.
Here are some common mistakes beginners make when learning about electricity and circuits:
Ignoring Circuit Theory Basics: Skipping the basics can make complex projects hard to understand.
Not Double-Checking Connections: Missing connections can cause circuit problems.
Overloading Components: Using too much voltage or current can break parts.
Not Using Proper Grounding: Forgetting grounding can cause strange behavior and safety risks.
Skipping Simulation Tools: Not simulating circuits can waste parts.
By avoiding these mistakes, you can build your first circuit with confidence and success.
Build Electronic Components

When you begin making electronic circuits, knowing the components is very important. Each part has a special job in how the circuit works. Let’s look at some key electronic components.
Resistors
Resistors control or limit the flow of electric current in a circuit. They help reduce the voltage in certain areas. The link between voltage, current, and resistance is shown by Ohm’s Law (V = I * R). Here are some main jobs of resistors:
Control current flow
Protect sensitive parts
Divide voltage in circuits
You can check resistance with an ohmmeter or a digital multimeter. Here’s a quick guide on how to measure resistance:
Measurement Method | Description | Units Used |
|---|---|---|
Ohmmeter | Measures resistance using Ohm’s law | Ohms (Ω) |
Digital Multimeter | Sends a set current and measures voltage across the resistor | Ohms (Ω) |
Capacitors
Capacitors store energy as an electric charge. They act as buffers during power cuts, keeping circuits stable. Capacitors work by gathering energy in their dielectric material when voltage is applied. This stored energy can be quickly released to help with sudden loads. Here are some important facts about capacitors:
A capacitor is a part that can store an electrical charge. It is useful in a circuit because it can provide a buffer during power interruptions.
Capacitance is measured in farads, with common beginner values being:
Prefix Name | Abbreviation | Equivalent Farads |
|---|---|---|
Picofarad | pF | 0.000000000001 F |
Nanofarad | nF | 0.000000001 F |
Microfarad | µF | 0.000001 F |
Diodes
Diodes are semiconductor devices that let current flow in one direction only. This feature is important for changing alternating current (AC) to direct current (DC). Here are some jobs of diodes:
Allow current to flow one way
Protect circuits from voltage spikes
Change AC to DC
Diodes stop reverse current flow, which can harm circuits. They do this by blocking current when the voltage is reversed.
Transistors
Transistors act as amplifiers or switches in circuits. They can work in two main areas: the Cut-off Region (fully OFF) and the Saturation Region (fully ON). Here are some types of transistors and what they do:
Small Signal Transistors: Amplify weak signals.
Power Transistors: Handle high power tasks.
Phototransistors: Control current based on light.
Transistors can boost signals by working in the active region, increasing the voltage or current of a signal.
Integrated Circuits
Integrated circuits (ICs) combine many electronic parts into one unit. They are smaller and more efficient than separate components. Here’s a comparison:
Feature | Integrated Circuits (ICs) | Discrete Circuits |
|---|---|---|
Size and Compactness | Smaller and more compact because of integration | Larger and bulkier due to individual parts |
Performance and Speed | Higher performance with shorter signal paths | Slower because of longer signal paths |
Power Consumption | More efficient, using less power | Higher power use due to inefficiencies |
ICs are flexible and often used in beginner projects, making them a great choice for your first circuit.
How to Build Circuits: Practical Steps
Choosing a Project
Start by picking a project that fits your skill level. As a beginner, choose something simple but fun. Here are some easy electronic circuit projects you can try:
Clap Switch: Use a microphone and an LM555 chip to turn lights on and off with a clap.
Automatic Staircase Light: Use infrared sensors to light up stairs when someone walks by.
Digital Altimeter: Learn soldering and coding with an Arduino and a pressure sensor.
FM Transmitter Project: Make a local FM station using basic parts.
These projects are great for learning and building electronic circuits. They give you a sense of achievement and help you see how different parts work together.
Gathering Tools and Materials
After you pick a project, collect the tools and materials you need. Here’s a list of important items:
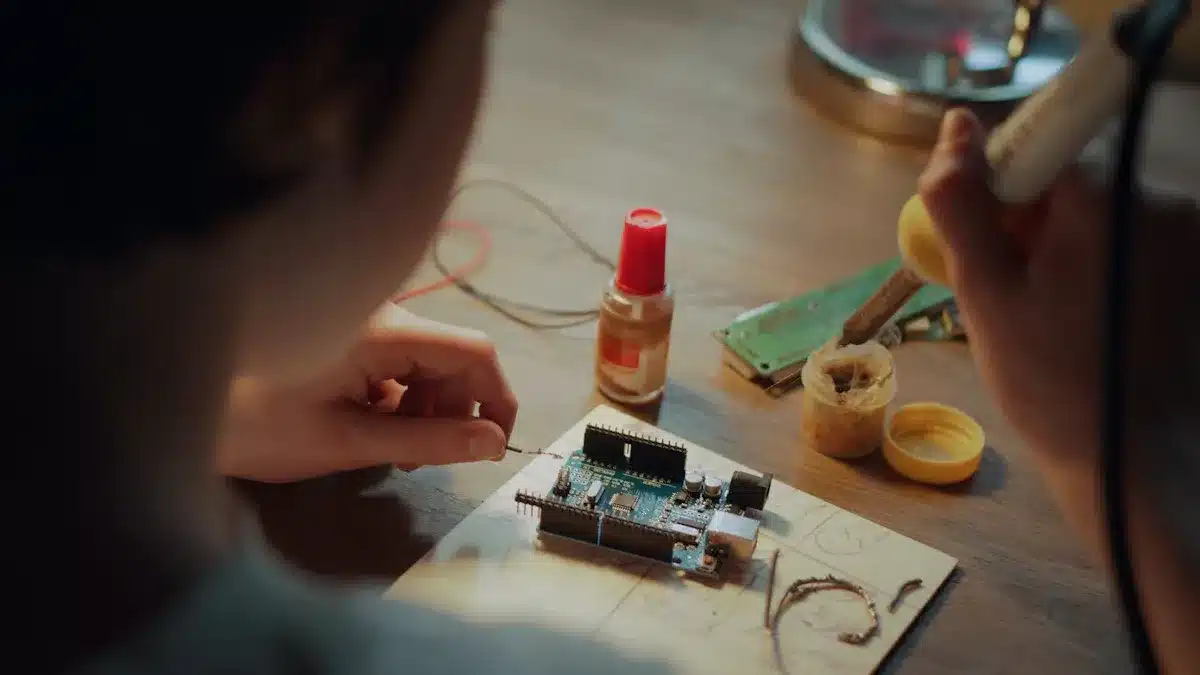
Soldering iron: For putting parts together by melting solder.
Helping hands: To hold parts steady while you solder.
Multimeter: For checking voltage, current, and resistance.
Breadboard: A handy tool for testing circuits without soldering.
Wire cutters: To cut wires during assembly.
For more details on these tools, check out Circuit Basics. Having the right tools will make building your circuit easier and more fun.
Assembling the Circuit
Putting your circuit together is an exciting part. Follow these easy steps to build a basic electronic circuit:
Connect the battery snap by putting the red lead in the top bus strip and the black lead in the bottom bus strip.
Insert one end of the resistor into the bottom bus strip and the other end into a nearby terminal strip.
Connect the LED by putting the short lead into the top bus strip and the longer lead into a terminal strip, making sure both are in the same row as the resistor.
Use a short jumper wire to link the terminal strips of the LED and resistor.
Finally, connect the battery to the snap connector to finish the circuit.
Using a breadboard for this is helpful. It lets you change your circuit easily without soldering, which is great for trying new things and learning.
Testing and Troubleshooting
After you build your circuit, it’s time to test it. Here are some good ways to check your new electronic circuit:
Testing Method | Advantages | Disadvantages | Best Suited For |
|---|---|---|---|
Visual Inspection | Quick and cheap; finds big problems | Might miss hidden issues | Checking quality in large production |
In-Circuit Test (ICT) | Great test coverage and accuracy | Needs special tools, takes time | Finding detailed faults in complex designs |
Flying Probe Test (FPT) | Cost-effective and flexible, no special tools needed | Slower than ICT, less test coverage | Low to medium production or prototypes |
If you have problems, use these troubleshooting tips to find and fix issues:
Visual Inspection: Look for clear damage, like burned parts or loose connections.
Verify the Power Supply: Check if the power supply gives the right voltage.
Signal Tracing: Use an oscilloscope to follow signals through the circuit.
Component Testing: Test each part with a multimeter to make sure they work.
By following these steps, you can successfully build electronic circuits and solve any problems that come up.
Building electronic circuits is fun and helps you learn. You get to use your hands, which makes understanding circuits easier. Working on projects helps you learn better. Research shows that doing experiments makes learning more interesting.
Begin with an easy project. As you keep practicing, you will gain important skills. Practicing often helps you understand and master ideas. For instance, learning by asking questions really helps you understand electrical circuits.
Keep in mind, every circuit you make helps you get better at designing circuits. Have fun while you learn and create!
FAQ
What tools do I need to start building circuits?
You need some basic tools. These include a soldering iron, multimeter, wire cutters, and a breadboard. These tools help you put together and test your circuits well.
Can I use a breadboard for all projects?
Yes, you can use a breadboard for most beginner projects. It lets you create circuits without soldering. This makes it easy to change your designs.
How do I know if my circuit is working?
You can test your circuit with a multimeter. Check the voltage and current at different spots. If everything matches your design, your circuit is probably working right.
What should I do if my circuit doesn’t work?
Start by looking at it closely. Check for loose connections or broken parts. Use a multimeter to check voltages and resistances to find problems.
Where can I find more project ideas?
You can find project ideas online. Look at electronics websites, forums, and YouTube channels. Books about electronics also have great beginner projects to try.
See Also
Streamlined PCBA Solutions for Your Electronics Projects
Effective Strategies to Improve Your PCBA Engineering Skills
Key Considerations When Selecting a PCBA Manufacturer