Circuit board assembly and circuit card assembly are very important in electronics. You need careful assembly so your devices work well and stay safe. Good spacing between parts, correct soldering, and following quality rules help prevent problems. These problems include short circuits, weak solder joints, and broken parts. Using parts before they expire and keeping the assembly area clean makes devices better. Checking devices often and using special tests find hidden problems early. When you learn about circuit board assembly and circuit card assembly, you help make new ideas, improve products, and help make many devices at once.
Key Takeaways
Circuit board assembly changes a plain PCB into a working device by adding and soldering electronic parts with care. Good assembly and quality checks stop problems like short circuits and weak connections. This makes devices safer and helps them last longer. Surface-mount technology (SMT) and through-hole technology (THT) are common ways to do this. SMT is good for small parts. THT gives stronger bonds for heavy parts. Quality control uses checks and tests like AOI, X-ray, and functional testing. These help find and fix problems early. Picking the right assembly method and manufacturer for your project saves time and money. It also makes your product work better.
Circuit Board Assembly
What Is It?
Circuit board assembly changes a plain pcb into a working device. This process, called pcba or printed circuit board assembly, puts electronic parts onto the printed circuit board. The pcb holds all the parts and lets electricity move between them.
Groups like IPC make strict rules for pcb assembly. These rules help every printed circuit board assembly stay safe and work well. You follow these rules to build products that last and work in many places.
The main steps in pcb assembly are:
Solder Paste Application: Solder paste goes on the pcb where parts will sit.
Automated Component Placement: Machines put parts like resistors, capacitors, and chips in place.
Reflow Soldering: The board gets heated so solder melts and connects parts to the pcb.
Inspection and Quality Control: You look for mistakes, like wrong parts or bad solder.
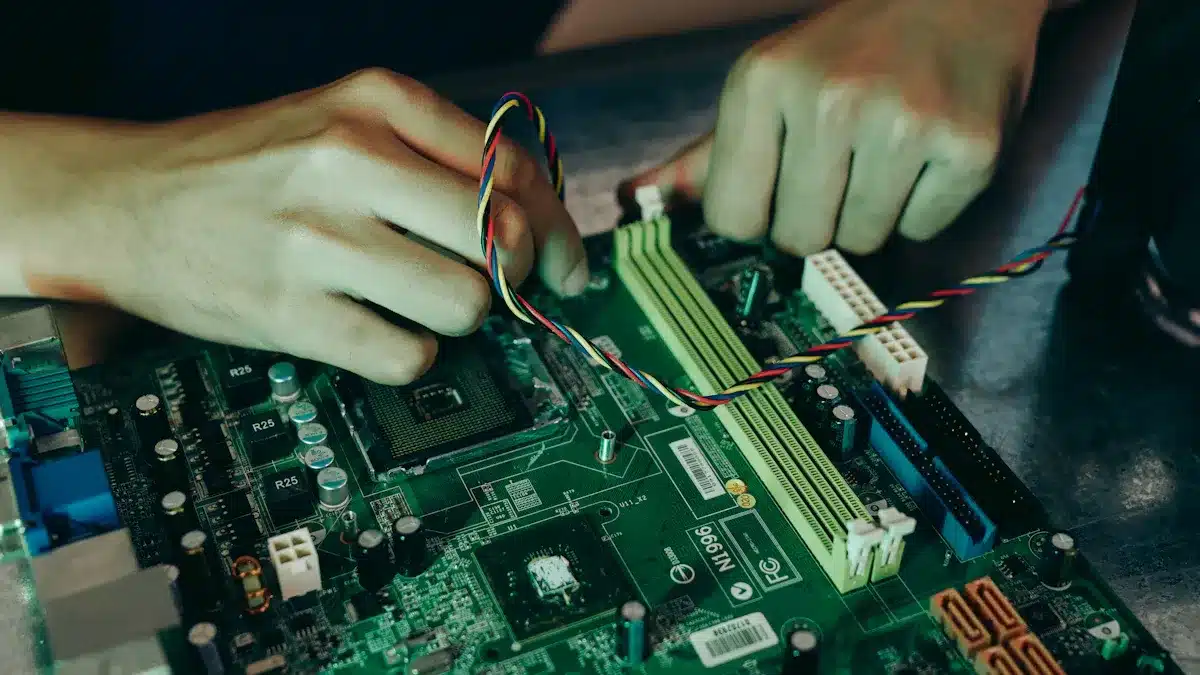
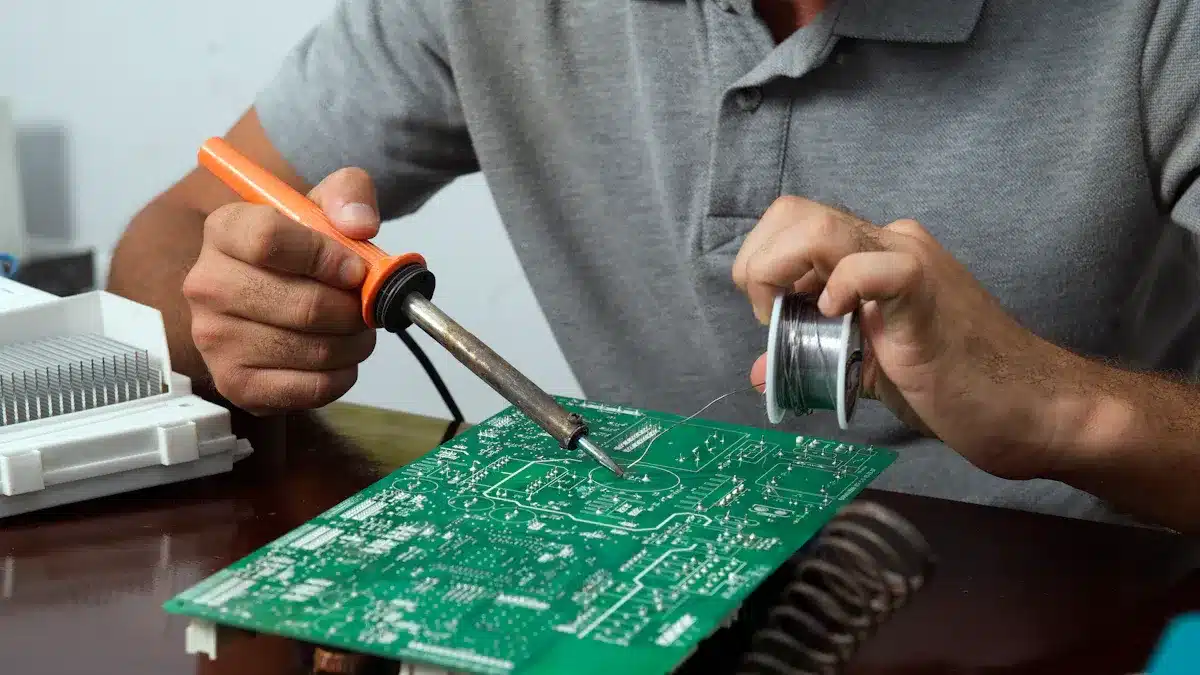
Through-Hole Component Insertion: Some parts go through holes and get soldered.
Final Testing: You test the pcba to make sure it works right.
Tip: Each pcb layer has a job. The substrate makes it strong. The copper layer lets electricity flow. The solder mask stops shorts. The silkscreen shows where parts go.
You use many kinds of parts in pcb assembly. These include:
Mechanical Components: These make the printed circuit board strong and help it fit in devices.
Electrical Components: These move electricity and signals. Some, like resistors and capacitors, control current and store energy. Others, like fuses, keep the circuit safe.
All these parts work together on the pcb to make a working circuit.
Why Is It Important?
You need circuit board assembly for almost every electronic device. Without good pcb assembly, your phone, computer, or car would not work. The process makes sure each printed circuit board assembly is correct and safe.
You must be careful at every step. If you put a part in the wrong place or make a bad solder joint, the device can break. Careful checks and tests find these problems early. You use tools like automated optical inspection and x-ray machines to spot hidden problems. This care helps your devices last longer and work better.
Circuit board assembly is key for modern electronics. It lets you build small, powerful, and complex devices. You can make new ideas fast, test them, and then make many at once. The process helps make everything from toys to medical and military gear.
You see different pcb assembly types in electronics:
Rigid pcbs for most devices.
Rigid-flex pcbs for things that bend.
High-density interconnect pcbs for small, complex products.
You also use different ways to put parts on, like surface mount technology and through-hole assembly, to fit each design.
Note: Good pcb assembly, like using the right parts and following rules, helps your devices stay safe and last longer.
When you learn about circuit board assembly, you can make better choices for your projects. You help make products that work well and keep up with new technology.
PCB vs. Printed Circuit Board Assembly
PCB Explained
When you look at a pcb, you see the base of electronics. The printed circuit board is flat and made from strong stuff like fiberglass. It has copper lines that work like roads for electricity. There are no parts on this board yet. The pcb gives support and connects places with copper traces. It cannot do anything alone. You need this board to start any electronic project.
A printed circuit board is like a blank canvas. It does not have chips, resistors, or other parts. You use it as the base for your printed circuit assembly.
Printed Circuit Board Assembly Defined
A pcba is made when you add electronic parts to a pcb. You put and solder things like resistors, capacitors, and chips onto the board. This step is called pcb assembly. You can use surface mount technology or through-hole technology to attach the parts. When pcb assembly is done, the board can do real jobs. It can power a phone, control a robot, or run a computer. The printed circuit board assembly is now a working part of your device.
You might hear printed circuit assembly. It means the same as pcba. Both words talk about a pcb with all its parts that can do tasks.
Key Differences
You should know how a pcb and a pcba are not the same. The table below shows the main differences:
Aspect | PCB (Printed Circuit Board) | PCBA (Printed Circuit Board Assembly) |
|---|---|---|
Structure | Bare board with insulating substrate and copper traces; no components mounted | Fully assembled board with electronic components (resistors, capacitors, ICs, connectors) soldered onto the PCB |
Function | Provides mechanical support and electrical connectivity only | Functional circuit capable of performing tasks due to mounted components |
Manufacturing | Fabrication involves layering substrate, etching copper traces, drilling holes, applying solder mask and silkscreen | Assembly involves placing and soldering components using SMT, THT, or mixed techniques, followed by inspection and testing |
Purpose | Acts as the physical and electrical foundation for circuits | Acts as the finished product ready to be integrated into electronic devices |
Example | A green board with copper lines but no chips | A smartphone motherboard with CPU, memory, and other components soldered on |
You begin with pcb manufacturing. This step makes the bare printed circuit board. Next is pcb assembly, where you add all the parts. The pcba is the final, working board. You use pcb assembly to turn a simple board into a smart device. Remember, the pcb is just the beginning. The pcba is what makes your ideas work.
Tip: Always check if you need a bare pcb or a full printed circuit board assembly for your project. Picking the right one saves time and money.
PCB Assembly Process
Main Stages
You need to follow a series of steps to turn a bare board into a working pcba. Each stage in the pcb assembly process has a clear purpose. If you skip a step or make a mistake, your board may not work. Here are the main stages you will see in most pcba projects:
Preparation Before Assembly
You start by checking your design. Design for Manufacturability (DFM) checks help you spot problems early. This step makes sure your board is ready for production and reduces errors.Stencil Creation for Solder Paste
You create a stencil that matches your board. This stencil helps you put solder paste only where you need it. Good stencils make strong solder joints.Solder Paste Application
You use the stencil to apply solder paste to the pads. Automated printers help you control the amount and placement. This step is important for avoiding defects.Component Placement
Automated pcb assembly uses pick-and-place machines to put electronic components on the board. These machines work fast and place parts with high accuracy. You can also place some parts by hand if needed.Reflow Soldering
You heat the board in a special oven. The solder paste melts and connects the parts to the board. This step forms strong electrical and mechanical bonds.Optical and X-Ray Inspection
Automated optical inspection (AOI) checks for missing or misplaced parts. X-ray inspection looks at hidden solder joints, especially under large chips.Selective Soldering for Through-Hole Parts
If your board has through-hole parts, you use selective soldering. This step uses a nozzle to add solder only where needed, protecting other parts from heat.Final Inspection and Cleaning
You check the finished pcba for any problems. Cleaning removes leftover flux and dirt. This step helps your board last longer.Testing and Packaging
You test the pcba to make sure it works. Functional tests catch any hidden issues. After testing, you package the board for delivery.
🛠️ Tip: Automated pcb assembly improves speed and accuracy. Machines can place thousands of parts per hour and keep errors low.
You face many challenges in these stages. Placing tiny electronic components is hard. Solder joints can crack or form voids. High-density boards can overheat. Automated pcb assembly helps you solve many of these problems by using precise machines and careful inspection.
Surface-Mount Technology
Surface-mount technology (SMT) is the most common way to build a pcba today. You use SMT to place small electronic components directly onto the surface of the board. This method does not need holes drilled through the board. Here is how SMT works:
You start by applying solder paste to the pads.
Automated pcb assembly machines pick up tiny parts, like resistors and chips, and place them on the paste.
The board goes into a reflow oven. The heat melts the solder and connects the parts to the board.
Automated inspection checks for errors, like misplaced parts or bad solder joints.
SMT lets you use very small parts called surface mount devices (SMDs). These parts have flat contacts or short leads. You can place them on both sides of the board. This makes your pcba smaller and lighter.
Disadvantages of SMT | |
|---|---|
Smaller, thinner boards | Expensive equipment needed |
High-speed automated pcb assembly | Harder to inspect small joints |
Lower material costs | Parts are fragile |
Supports flexible and rigid-flex boards | Not all parts can use SMT |
Better signal quality | Small runs are costly |
You use SMT for most modern devices. Phones, computers, and wearables all use this method. SMT works best for high-volume production. Automated pcb assembly makes it fast and reliable.
📦 Note: SMT is not perfect for every job. Some parts, like large connectors or heavy components, still need other methods.
Through-Hole Technology
Through-hole technology (THT) is an older method, but you still use it for some pcba projects. In THT, you insert electronic components with long leads through holes in the board. You then solder the leads on the other side. Here is what you need to know about THT:
THT gives you strong mechanical bonds. This is good for parts that face stress or vibration.
You often use THT for connectors, switches, and big capacitors.
THT is common in aerospace, military, and industrial products. These fields need boards that can handle heat and rough use.
THT is easier for prototyping. You can use breadboards and make changes by hand.
Reliability | Cost | |
|---|---|---|
THT | Stronger bonds, good for stress | More expensive for large runs |
SMT | Good for most uses, but joints are weaker | Cheaper for high-volume production |
You may combine THT and SMT in one pcba. This lets you use the best method for each part. Automated pcb assembly can handle both, but THT often needs more manual work.
💡 Tip: Use THT for parts that need to stay in place or handle high power. Use SMT for small, light parts and when you want to save space.
Precision matters at every stage. Automated pcb assembly helps you place parts exactly where they belong. Machines use vision systems to check alignment. Reflow ovens use set temperatures to make perfect solder joints. Automated inspection finds problems early, so you can fix them before the board leaves the factory.
You need to pay attention to every detail in the pcb assembly process. Good planning, careful machine setup, and regular checks help you make reliable pcba for any device.
Quality Control in PCB Assembly
Inspection Methods
You need good ways to check pcba quality. First, you look at the board with your eyes. You search for bad solder, cracks, scratches, or missing parts. Automated Optical Inspection (AOI) uses cameras and computers to find problems on the surface. AOI can catch almost all visible mistakes and works much faster than people. Automated X-Ray Inspection (AXI) lets you see inside the board. You use AXI to find hidden solder problems, especially under BGAs. In-Circuit Testing (ICT) uses probes to check each part and connection. Flying Probe Testing is good for small batches and prototypes because it does not need special tools. These checks help you find problems early and keep your pcba working well.
Visual Inspection
Automated Optical Inspection (AOI)
Automated X-Ray Inspection (AXI)
In-Circuit Testing (ICT)
Flying Probe Testing
AOI systems show problems right away, so you can fix them fast and make your boards better.
Testing Procedures
Testing makes sure your pcba works the right way. You use different checks to test how it works and how strong it is. In-Circuit Testing (ICT) checks if each part is there and working. Functional Testing turns on the pcba and acts like real use. You check power, signals, and how well it works. Environmental Stress Screening (ESS) puts the pcba through heat, cold, and shaking to find weak spots. Burn-in Testing runs the pcba for a long time with high heat and power to catch early problems. Automated Optical Inspection (AOI) and Flying Probe Testing give extra checks. These steps make sure your pcba meets all the rules for quality.
Testing Procedure | Purpose |
|---|---|
In-Circuit Testing (ICT) | Checks components and connections |
Functional Testing | Simulates real-world operation |
Environmental Stress Screening (ESS) | Finds early failures under stress |
Burn-in Testing | Detects early-life failures |
AOI and Flying Probe Testing | Adds extra quality checks |
Ensuring Reliability
You want your pcba to last and work well. Good checks help you reach this goal. You follow IPC-A-610 rules and use lists to check quality. Regular checks and good worker training stop mistakes. You also do tests like heating and cooling or damp heat tests. These tests show how your pcba handles tough places. Good design and careful building are important. You use AOI, ICT, and X-ray checks to find problems early. Tests like salt spray check if your board can resist rust. When you use these checks, you make pcba that meets strict rules and works for a long time.
Remember, good checks protect your pcba from breaking early and help you make great products every time.
Choosing Assembly
Factors to Consider
When you pick a way to put together a pcb, you need to think about a few important things. Every project is different, so you should choose the assembly process that fits your needs. Here are some things to help you decide:
Certifications: If you work with medical or car electronics, you need manufacturers with special certifications like ISO 13485 or IATF 16949. These show they care about safety and quality.
Manufacturing Capabilities: Check if the manufacturer can do surface-mount technology, through-hole assembly, or both. Some projects need special machines for tiny or tricky boards.
Design Complexity: Boards with lots of layers or small parts need special skills and tools. Make sure your partner can handle these hard jobs.
Production Volume: Small batches and test boards are easier with manual assembly. Big orders cost less with automated assembly.
Supply Chain Management: Good suppliers and parts you can track help you avoid fake parts and keep quality high.
Quality Control: Look for strong quality systems, trained workers, and regular checks. Good quality control means fewer mistakes and better boards.
Inspection and Testing: The best manufacturers use AOI, X-ray, and in-circuit testing to find problems early.
Here is a quick comparison:
Factor | Manual Assembly | Automated Assembly |
|---|---|---|
Production Volume | Best for small runs | Best for large-scale production |
Design Complexity | Flexible for complex designs | Efficient for simple, stable designs |
Budget | Lower setup, higher labor cost | Higher setup, lower cost at scale |
Timeline | Longer lead times | Faster and more predictable |
Quality Standards | Skill-based, detailed | Consistent, may need extra checks |
Adaptability | Easy to change designs | Less flexible to changes |
Tip: Think about how pcba can help your project. Picking the right way can make things faster, cheaper, and better.
Selecting a Manufacturer
When you choose a pcba manufacturer, you want someone who cares about quality and meets your needs. Start by checking their certifications. Look for ISO 9001 for general quality, ISO 13485 for medical, or AS9100 for aerospace. These show the company follows strict rules and cares about safety.
Ask about how they control their process. Good manufacturers use machines, real-time checks, and smart tools to keep quality high. They should have strong inspection and testing, like AOI, X-ray, and in-circuit testing. This helps find problems before your boards are sent out.
Experience is important. Pick a company that has worked on hard projects before. Their engineers should know how to fix tough problems and keep your project moving. Good customer support is also important. You want quick answers and help when you need it.
Cost, how fast you need your boards, and how many you need all matter. Big orders make each board cheaper, but rush jobs can cost more. Flexible prices and schedules help you stay on budget and finish on time.
Note: Always check for industry standards like IPC, RoHS, and UL. These show the manufacturer cares about quality and safety.
If you follow these steps, you have a better chance of getting good boards. Careful planning helps your project succeed.
You help electronics work well by picking the best assembly method. How you put together and support solder joints changes how long devices last and how well they work.
Assembly Method | Vibration Life | Temperature Cycling Life |
|---|---|---|
Bottom filler | 92.3% lower | |
Four-corner fix | 3.9 times better | 99.3% lower |
Unreinforced | Baseline | Baseline |
If you choose good assembly, you get your products faster. You talk with your team more easily and find fewer mistakes.
You can change designs to fit special needs.
You keep your ideas safe and lower problems.
You make strong teams that help you later.
FAQ
What is the difference between SMT and THT?
Surface-mount technology (SMT) places parts directly on the board’s surface. Through-hole technology (THT) puts parts through holes in the board. SMT works best for small, light parts. THT gives stronger connections for heavy or stressed parts.
How do you check if a PCB assembly is good?
You use visual checks, automated optical inspection (AOI), and X-ray machines. These tools help you find missing parts, bad solder joints, or hidden problems. Good testing makes sure your board works well and lasts longer.
Can you reuse components from old circuit boards?
You can sometimes reuse parts, but it is risky. Old parts may have damage or wear. You should use new, tested components for important projects. This helps you avoid failures and keeps your devices safe.
Why does cleaning matter in PCB assembly?
Dirt, dust, or leftover solder paste can cause short circuits or weak connections. Cleaning removes these risks. Clean boards work better and last longer. You should always keep your assembly area and tools clean.
See Also
Benefits And Obstacles Of Flexible PCBA In Electronics
A Comprehensive Guide To PCBA Production And Assembly
The Role Of PCBA In Advancing Modern Electronic Devices
The Importance Of Tailored PCBA Production In Electronics
Streamlined PCBA Solutions For Quick Electronics Development