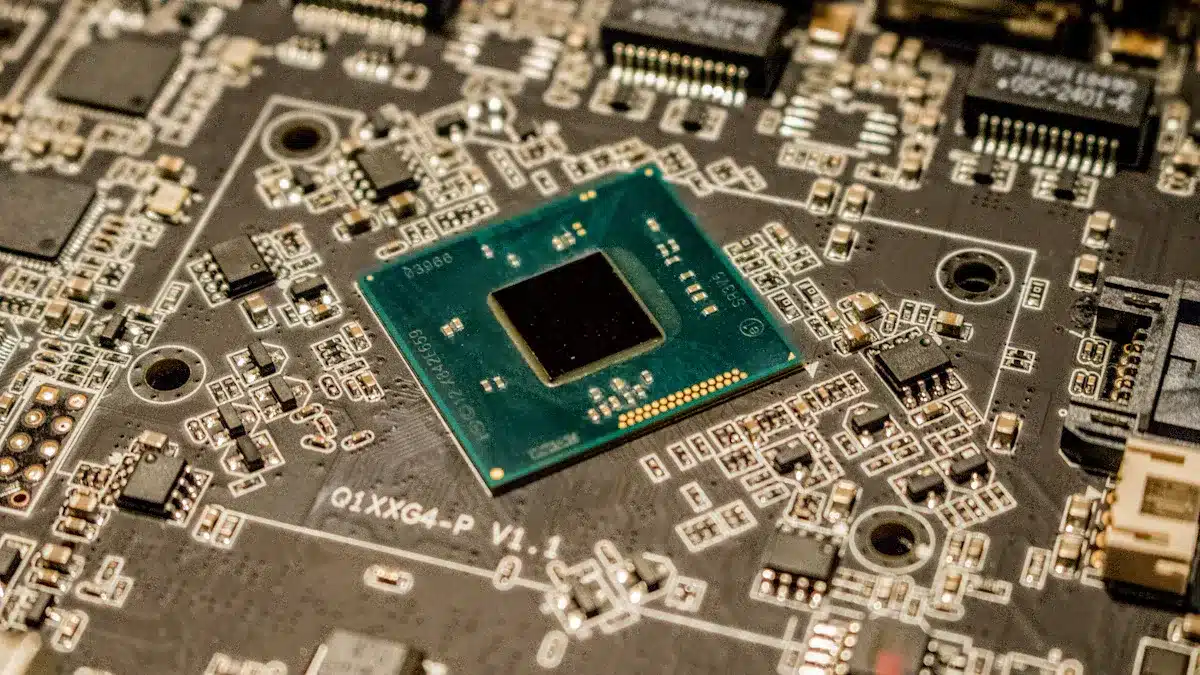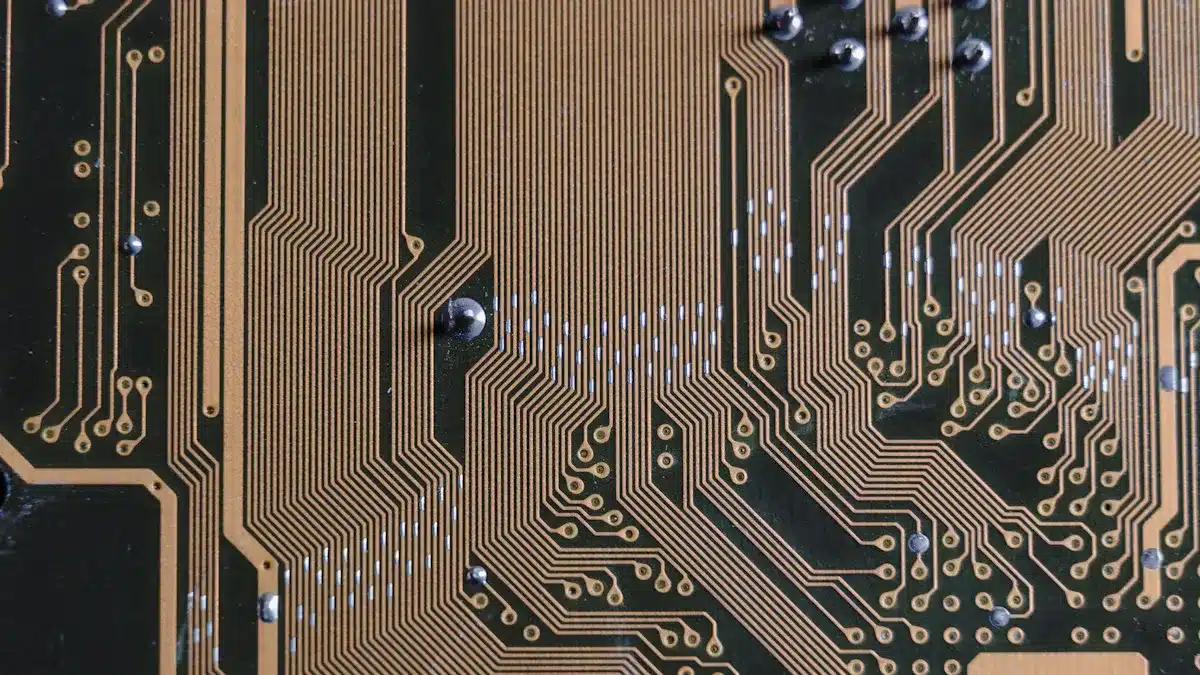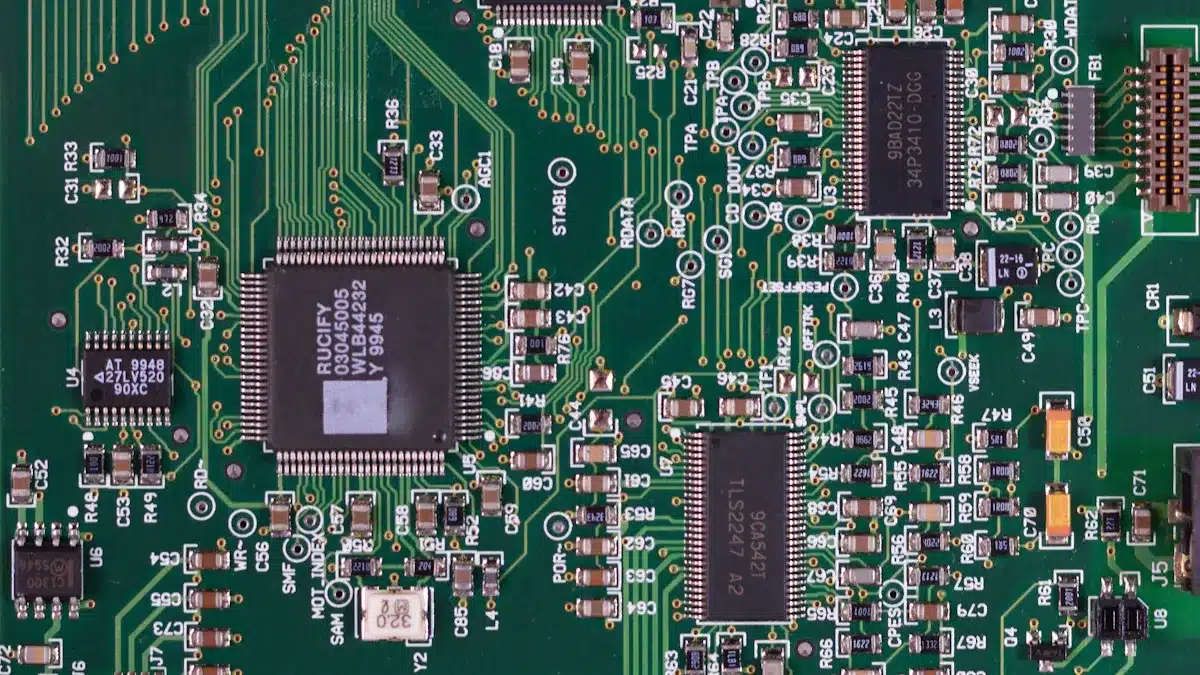
In 2025, the pcb board prototype process is very important in electronics. It is expected to make up 56.0% of the revenue generated in the electronic prototyping market. This market is predicted to reach USD 5,840.7 million. As technology advances, innovations like automation and AI enhance production efficiency. These improvements allow for the creation of smaller and better designs. Understanding these various methods helps you choose the best one for your projects.
Key Takeaways
PCB prototyping is very important. It helps test designs and find problems before making a lot of them. This saves time and money.
There are different ways to prototype, like DIY etching and online services. These options fit different project needs and levels of difficulty.
Knowing the cost differences between prototyping and making many items helps with budget planning.
Using design for manufacturability (DFM) rules can lower production costs and make things run smoother.
Picking the right prototyping method based on what the project needs leads to better results and helps the project succeed.
Understanding PCB Prototyping

Definition of Prototype PCBs
Prototype PCBs are the first versions of circuit boards. They help you test and improve your electronic designs before making many copies. These boards are important for finding problems in design, function, or how easy they are to make. Here are some common definitions of prototype PCBs in the electronics industry:
Definition | Description |
|---|---|
Experimental Platforms | Prototype PCBs are testing platforms. They help test ideas, fix problems, and improve designs before making many copies. |
Early Versions | PCB prototypes are the first versions of circuit boards. They are made to test and improve electronic product designs before full production. |
Design Validation | PCB prototypes are important because they show possible problems in design, function, or how easy they are to make before mass production. |
Importance of Prototyping
Prototyping is very important in PCB development. It helps you find and fix design problems early. Here are some key benefits of prototyping:
Identifying and Eliminating Design Flaws: Early prototypes find design mistakes, like wrong component placement or bad connections.
Improved Product Performance: Prototyping helps you make the design better for performance. This ensures the PCB works well in real-life situations.
Cost Efficiency: Finding and fixing problems during prototyping costs much less than doing it during or after mass production.
Faster Time-to-Market: Testing and checking designs early speeds up the development process.
Customization and Innovation: Prototyping lets you try out different designs and technologies.
Enhanced Reliability: Testing prototypes in different conditions makes sure the final product is strong and dependable.
Stakeholder Confidence: Showing a working prototype increases trust among stakeholders.
In 2025, PCB prototyping keeps changing. New technology makes prototyping quicker and better. Using these new ideas helps you create complex and small PCB designs. This keeps your projects competitive.
Prototyping vs. Volume Production
When you think about PCB prototyping and volume production, there are some important things to consider. Knowing these differences helps you make better choices for your projects.
Quantity Considerations
The number of PCBs you need affects your choice between prototyping and volume production. Here’s a simple comparison:
Production Type | Quantity Range |
|---|---|
Prototyping | |
Volume Production | Thousands to millions of units |
Prototyping usually means small amounts. You might only need a few boards to test your design. On the other hand, volume production is about making a lot of items, which is important for products sold to many people.
Cost Differences
Costs are very different between prototyping and volume production. Here’s what you should know:
PCB Prototyping: You pay more for each unit because of small batch sizes, usually around 5-10 boards. But, total costs are still reasonable for early testing.
Mass Production: This method tries to lower costs per unit by making many at once. You need to produce a lot to get lower prices.
Knowing these cost differences helps you plan your budget well for your projects.
Lead Time Analysis
Lead time is another important factor. It means how long it takes to make your PCBs. Here’s a look at average lead times:
Assembly Type | Lead Time |
|---|---|
Prototype Assembly | |
Low-Volume Production | 5–10 working days |
Medium to High Volume | 10–20 working days or more |
Prototyping usually has a shorter lead time. You can get your boards quickly, which helps with faster testing and changes. In contrast, volume production takes longer, especially if there are supply chain problems.
Implications for Project Planning
The differences in quantity, cost, and lead time matter a lot for your project planning. Here are some key points to think about:
Material Costs: These often make up the biggest part of total project costs. Prices can change based on market conditions.
Labour Costs: Pay for workers who help make the products can vary, affecting your budget.
Overhead Costs: These are necessary expenses for running the business that aren’t directly linked to production, like utilities and maintenance.
Logistics Costs: Costs for transportation and supply chain management can go up due to delays or problems.
Also, global supply chain issues can affect your timelines. Parts in high demand may take 20-30 weeks, causing big delays. Shortages of materials and logistical problems are major reasons for delays in PCB production. Knowing these issues is important for reducing risks in PCB manufacturing.
PCB Board Prototype Methods

When you think about PCB prototyping, there are many methods to pick from. Each method has its own good points and challenges. Here, we will look at three popular ways: DIY PCB etching, the toner transfer method, and online PCB services.
DIY PCB Etching
DIY PCB etching is a hands-on way to make your own circuit boards at home. This method is popular with hobbyists and people who want to learn about PCB design. Here are the main steps in the DIY PCB etching process:
Design Your PCB Layout: Use software to create your circuit layout and print it on shiny paper.
Prepare the Copper-Clad Board: Clean and sand the board to make it shiny.
Transfer the Design to the Board: Use an iron to move the toner from the printed design to the copper board.
Prepare the Homemade PCB Etchant Recipe: Mix vinegar, hydrogen peroxide, and salt in a non-metal container.
Etch the PCB: Put the board in the etchant solution and stir it now and then.
Clean and Finish the Board: Take off the toner and drill holes for parts.
This method usually costs between $5 and $15 for 1-5 boards and takes about 1-2 days to finish. It is great for simple designs and learning. However, be careful because the process can be messy and you need to handle chemicals carefully.
Toner Transfer Method
The toner transfer method is another popular way to make PCBs. This method is known for being fast and efficient. Here are some important points to think about:
Advantages:
Allows for quick production without needing professional help.
Disadvantages:
Results can be different and need careful tuning.
The ability to repeat results can change based on materials and methods.
The process can be hard for beginners because it needs precise adjustments.
You can expect to spend between $5 and $20 for this method, with a turnaround time of about 1-2 days. This method works well for detailed single-layer designs but may need practice to get consistent results.
Online PCB Services
Online PCB services are popular because they are easy to use and provide professional quality. These services let you upload your design and get finished boards sent to your home. Here are some top online PCB prototyping services available in 2025:
Service Name | Key Features |
|---|---|
EMSG | Custom PCB prototyping and assembly, tailored enclosures, strict testing, consultation available. |
Twisted Traces | 100% U.S.-based manufacturing, fast prototyping, multilayer PCBs (up to 20 layers), IPC Class 2 and 3 quality. |
Eurocircuits | Ships internationally, manufacturable data visualizer, instant pricing, customizable solder mask color. |
Advanced PCB | Over 30 years of experience, quick fabrication, up to 40 layers, flexible and rigid boards, worldwide shipping. |
Using online services usually costs between $10 and $50 for 1-5 boards and takes about 3-7 days for delivery. This method is best for complex or multi-layer boards, giving high-quality results without the trouble of doing it by hand.
Factors Influencing PCB Pricing
When you think about the costs of PCB prototypes, many factors matter. Knowing these factors helps you make smart choices for your projects.
Material Costs
The materials you choose affect the total price of PCB prototypes. Here are some important points to remember:
Regular materials like FR-4 are cheaper than advanced ones.
Advanced materials can raise costs a lot, sometimes doubling or tripling the price.
Surface finishes also change prices. Cheaper options like Lead-free HASL are available, while pricier finishes like ENIG have different benefits.
Production Efficiency
How efficiently you produce PCBs is very important for pricing. Making more units lowers the cost per unit because you use materials and labor better. Smooth operations help save money. On the other hand, small orders cost more. Setup and labor costs are spread over fewer units, making them more expensive. So, if you plan to make a lot, you can save money later.
Design Complexity
The complexity of your design greatly affects the cost of PCB prototyping. Here are some key things to think about:
Complex PCB prototypes can cost about $1,000 each, especially for small orders.
The number of layers in a PCB design affects its complexity and price. Simple double-layer boards are the cheapest option.
More complex designs lead to higher costs because of advanced finishes and complicated manufacturing steps.
By knowing these factors, you can better control your PCB project costs and make choices that fit your budget and design needs.
Cost Comparison: Prototypes vs. Volume Production
Breakdown of Costs
When you look at costs for PCB prototyping and volume production, many things matter. Here’s a simple list of the main parts that affect costs:
Size: Bigger boards cost more.
Material: Different materials have different prices. High-performance materials are pricier.
Complexity: Designs with many parts and layers cost more.
Turnaround Time: Quick prototyping raises costs.
Engineering Costs: Complicated designs need more time and resources, which increases costs.
Assembly Costs: These depend on how many and what type of parts you use, especially fine-pitch parts.
Component Costs: The price of electronic parts can greatly affect total costs.
Testing Costs: This is optional but important for checking quality in some designs.
Freight Costs: Extra costs for shipping the final products.
Knowing these factors helps you make smart choices about your project budget.
When to Choose Each Method
Deciding between PCB prototyping and volume production depends on what you need. Here are some situations where prototyping might save you money:
Prototyping finds design mistakes early. This stops costly errors in mass production.
It lets you test and fix problems, leading to better designs before making many.
Finding flaws early makes fixing them easier, avoiding expensive repairs during mass production.
Prototyping checks if the design works well. This lowers the chance of mistakes that could cause costly re-spins when producing a lot.
Techniques for Optimizing PCB Costs
Design for Manufacturability
Designing for manufacturability (DFM) is very important for lowering costs in PCB production. You can make your designs better by following these tips:
Minimize Trace Lengths: Shorter traces use less material and lower the chance of signal problems.
Avoid Sharp Angles: Use 45-degree angles to stop signal reflection and manufacturing issues.
Standardize Trace Widths: Use common trace widths to handle current well without making the design harder.
Also, think about the whole design process. Get your team involved early to make sure the design is strong and meets application and reliability needs. Making your design simpler helps improve yields and cut costs. Always pick the right fabrication site based on your design needs and what the plant can do.
3D Prototyping Techniques
3D prototyping techniques are becoming more popular in PCB design. These methods let you quickly create physical models of your designs. You can use 3D printing technology to make prototypes that help test your ideas fast. This way, you can change designs easily and check how well they work.
Using 3D prototyping helps you get a high level of accuracy in your designs. This method also helps with strict reliability testing, making sure your prototypes meet performance standards before going to mass production.
Efficient Production Strategies
Using efficient production strategies can greatly lower PCB prototyping costs. Start by prototyping your design before full production. This step helps find design mistakes that might not show up in the digital phase.
You should also make your PCB design better by reducing layers and simplifying layouts. Working with your PCB manufacturer early in the design phase can lead to money-saving ideas and help avoid expensive redesigns. By using DFM principles, you can make the manufacturing process easier and cut costs effectively.
In 2025, picking the right PCB prototyping method is very important for your project’s success. Here are some main points to think about:
Use breadboards for learning and quick tests.
Switch to perfboards for stronger projects.
Choose PCBs for complex and long-lasting designs.
Knowing the differences between prototyping and mass production helps you plan well. Prototyping lets you make quick changes, while production focuses on being reliable and saving money. Check your specific needs by looking at design requirements, manufacturing methods, and sourcing parts. This way, you can choose the best prototyping method for your project.
FAQ
What is a rapid PCB prototype service?
A rapid PCB prototype service helps you quickly make circuit boards. These services usually have fast turnaround times. This lets you test your designs and make changes before starting large-scale production.
How do I choose the right PCB prototyping method?
Think about what your project needs. For simple designs, DIY methods are good. For more complex or ready-to-produce designs, online services or professional help might be better. Check costs, time, and accuracy when deciding.
What factors affect the cost of PCB prototypes?
Many things affect the cost of PCB prototypes. These include the materials you pick, how complex the design is, and how efficiently you produce them. Making a lot of PCBs usually lowers the cost per unit, while complicated designs can raise prices.
How can I ensure accurate PCBs?
To get accurate PCBs, use good design software and check your layouts carefully. Pick high-quality materials and work with skilled manufacturers. Testing your prototypes well before mass production helps find problems early.
When should I transition from prototyping to high-volume production?
You should move to high-volume production when your prototype meets all design requirements and passes tests. Make sure your design is ready for production and that you understand costs and timelines clearly.
See Also
The Importance of PCBA Prototyping in Electronics Development
Investigating PCBA Testing Methods for Cutting-Edge Electronics Production
Essential Information About PCBA Prototypes and Their Applications
Benefits and Drawbacks of Flex PCBA in Today’s Electronics
Choosing the Right PCB Prototype Manufacturer for Your Needs