Circuit boards are very important for how electronic devices work. When they break, it can be very frustrating. Common problems are defects from making them, burnt parts, and outside conditions. These issues can make your device work worse. For example, old materials or mistakes can cause circuit board problems. Knowing how to fix circuit board issues quickly can help you save time and money. This way, you can fix your devices easily.
Key Takeaways
Find circuit board problems by checking for signs. Look for burnt parts, color changes, and broken lines. Finding issues early can stop more damage.
Use the right tools like multimeters and soldering tools. Good tools make fixing problems easier and more precise.
Take a step-by-step method when fixing issues. Start with looking closely and doing simple tests. Then move on to harder problems.
Know when to get help from a pro. Signs like error messages, no power, or smoke mean serious issues that need expert fixing.
Stay safe while you repair. Always wear safety gear to keep yourself safe from dangers during the repair.
Identify Circuit Board Issues
Signs of Damage
When you check a circuit board, look for signs of damage. These signs can help you see how the board is doing. Here are some common signs to notice:
Burnt components: These look like black spots on the board.
Discoloration: Brown or black marks may show overheating. This can harm parts.
Broken traces: Check for breaks in the paths connecting parts of the circuit.
Other signs include:
Crushed components: Physical damage can stop it from working.
Bulges: These usually mean capacitors are failing.
Damaged wires: Wires that are frayed or broken can cause connection problems.
Cracks: Any cracks can weaken the board.
Misplaced or extra solder: This can cause short circuits.
Burn marks: These show electrical overload, which can break parts.
Scratches: Scratches on the surface can hurt performance.
Also, check for cold joints and solder bridges. Cold joints happen when solder doesn’t melt right, making weak connections. Solder bridges occur when solder connects two points by mistake, causing short circuits.
Common Problems
Knowing the common problems with circuit boards is important for fixing them. Here are some usual issues you might find:
Thermal Stress: High heat can weaken solder connections, causing failures.
Aging Components: Over time, parts like capacitors can fail, leading to power problems.
Manufacturing Errors: Badly installed parts or poor soldering can cause issues.
Environmental factors also affect circuit board health. For example, high humidity can cause rust, while extreme heat can speed up material breakdown. The table below shows how these factors affect circuit boards:
Impact on Circuit Boards | |
|---|---|
Temperature | Speeds up chemical reactions, making materials like solder joints break down faster. |
Causes thermal expansion, which can crack solder joints. | |
Humidity | Lets moisture in, causing rust and short circuits. |
Affects insulation resistance by interacting with flux residues. | |
Combined Effects | Raises the chance of failures due to rust and growth when both factors are present. |
By spotting these signs and knowing common problems, you can find issues and fix circuit board problems before they get worse.
Fix Circuit Board Issues Step-by-Step
When you have circuit board problems, a clear plan can help you. Following these simple steps can help you find and fix issues easily.
Basic Troubleshooting Steps
Visual Inspection: Start by looking closely at the circuit board. Check for broken parts, damaged traces, or signs of overheating. This first step can show clear problems that need fixing right away.
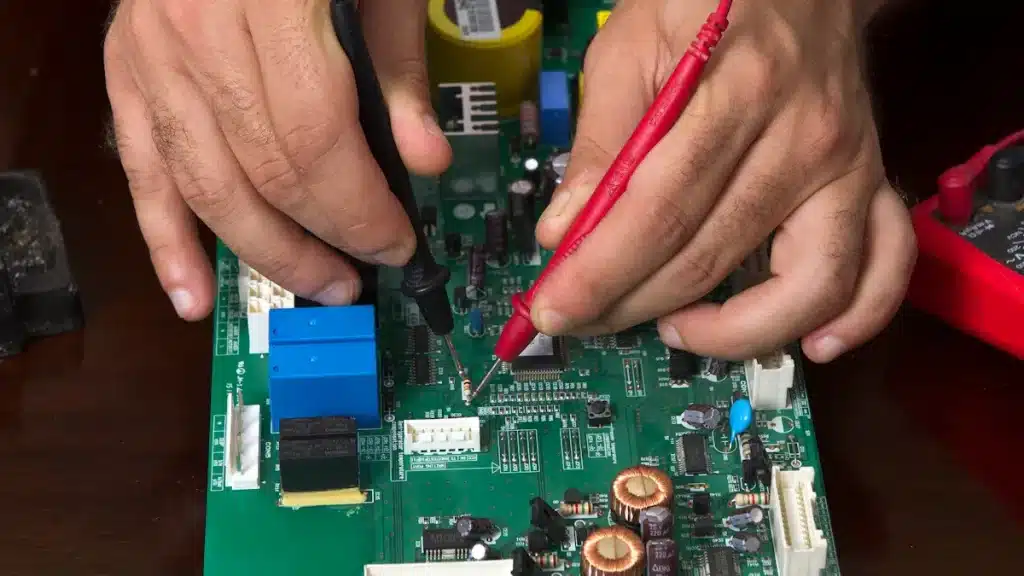
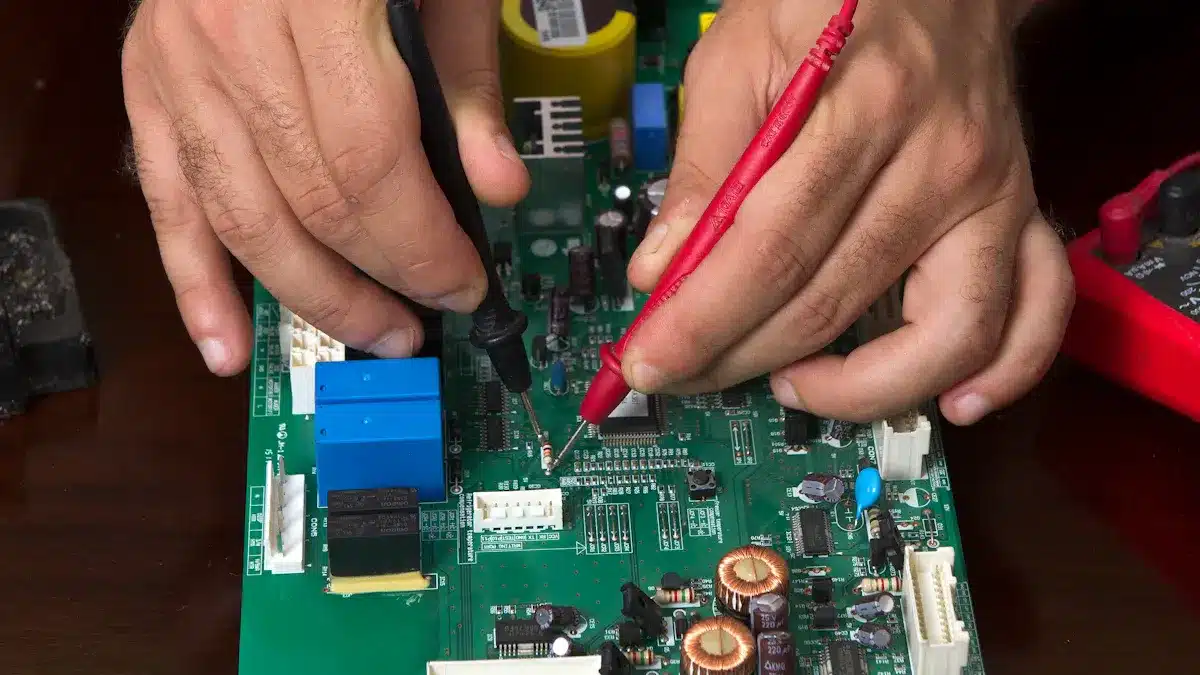
Use Proper Tools and Equipment: Get tools like multimeters and oscilloscopes. These tools help you find problems accurately. For example, multimeters check voltage, current, and resistance. They are important for finding circuit board issues. They can also check electrical connections and find open circuits.
Follow a Systematic Approach: Use a step-by-step method for troubleshooting. Begin with simple problems before checking more complex ones. This careful way helps you not miss any issues.
Understand Common Issues: Learn about common problems like power supply failures and solder joint issues. Knowing these can help you find problems faster.
Repair Techniques
After finding the issues, you can use different repair methods to fix circuit board problems. Here are some good ways:
Assess the Damage: Look at the broken trace with a magnifying glass or microscope. Use a multimeter to check the break.
Clean the Area: Get rid of dirt and oxidation. Clean the area with isopropyl alcohol to make sure it’s clean.
Expose the Copper: If needed, carefully scrape off the solder mask to show the copper under the broken trace.
Choose the Repair Method: Depending on the damage:
For small breaks, use conductive epoxy or a repair pen.
For bigger breaks, solder a thin wire across the gap.
For burnt traces, replace the damaged part with a jumper wire.
Secure the Repair: Put epoxy or UV-curable solder mask over the repair to keep it safe.
Test the Repair: Use a multimeter to check for continuity and power up the board to see if it works.
Soldering and Desoldering:
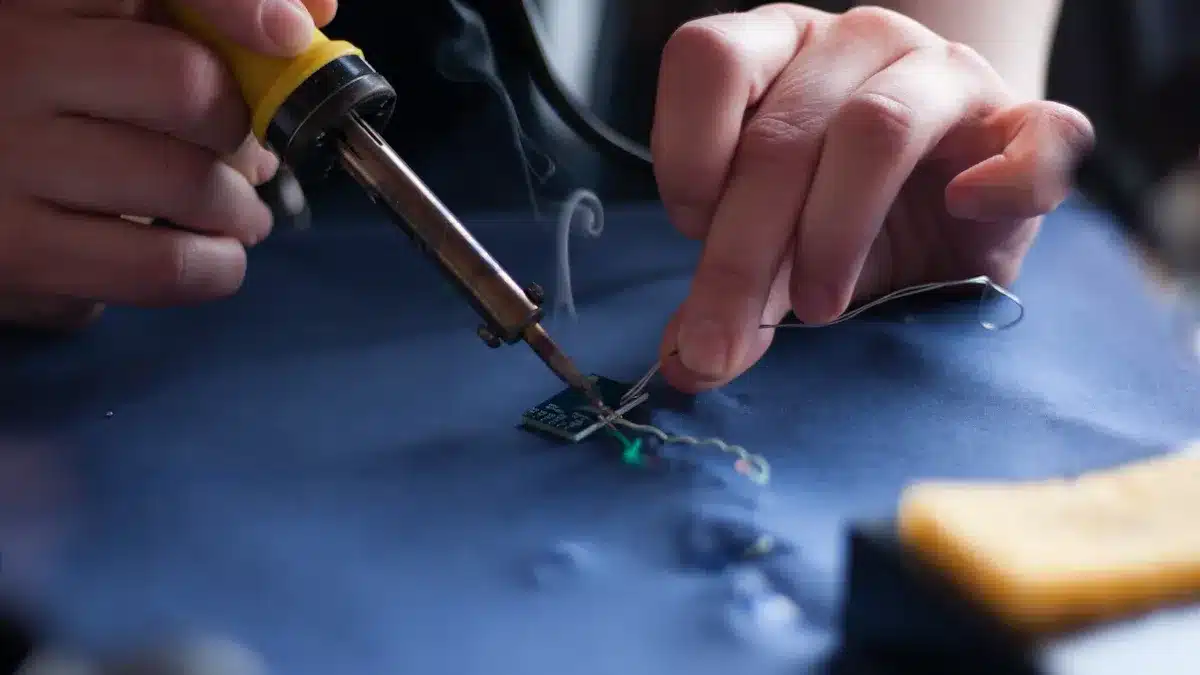
Good soldering techniques make strong electrical connections. This is important for fixing circuit boards. Use a fine-tip soldering iron to heat small areas, which helps avoid damage to nearby parts.
When desoldering, melt the solder completely to break the bond with the component lead and PCB pad. This step is key for successful repairs and keeps the board and parts safe.
By using these troubleshooting steps and repair methods, you can fix circuit board issues and get your devices working again.
Essential Tools for Repair
When you want to fix circuit board issues, having the right tools is very important. Here’s a list of the tools you need for good repairs.
Must-Have Tools
First, gather these must-have tools for basic circuit board repair:
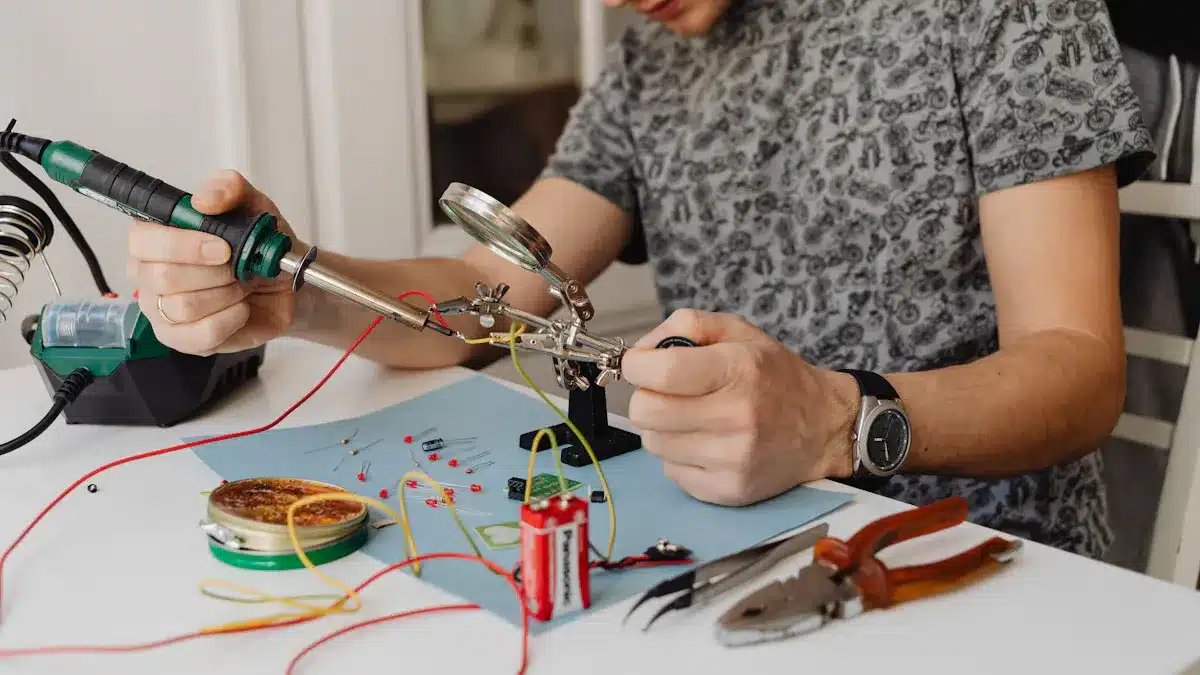
Soldering Equipment: A good soldering iron is very important. Look for ones that let you control the temperature. Fine-tipped soldering irons are best for small parts.
Multimeters: These tools help you check voltage, current, and resistance. They are key for finding electrical problems.
Desoldering Tools: Use desoldering pumps or solder wick to safely take off solder from parts.
Flux and Solder Wire: Flux helps solder flow better. Good solder wire makes strong connections.
Precision Screwdrivers: These help you handle small screws without hurting parts.
Tweezers: Fine-tipped tweezers let you move small parts and components easily.
Tip: The quality of your soldering iron really affects your repairs. A higher wattage soldering iron heats up faster. It also gives better temperature control, which is very important for good repairs.
Optional Tools
For more advanced repairs, think about adding these optional tools to your kit:
Oscilloscopes: These tools show electrical signals over time. They help you find complex circuit problems by spotting noise, timing issues, or missing waveforms.
Automated Optical Inspection (AOI): This tool checks circuit boards for defects. It helps ensure quality during manufacturing.
X-ray Inspection (AXI): This is useful for checking solder joints. AXI can find problems like solder bridges and misaligned pins.
In-Circuit Testing (ICT): This method tests each part on the board. It gives a complete check of how the circuit works.
By having these essential and optional tools, you can troubleshoot and fix circuit board issues well. This way, your devices will work smoothly.
Tips for Efficient Troubleshooting
Systematic Approach
When you fix circuit board problems, a systematic approach can help a lot. Follow these steps to find and solve issues better:
Visual Inspections: Start by looking closely at the board. Check for burned or damaged parts. Look for missing pieces and clean any dirt that might block your view.
Physical Inspections: Look for hot spots on the board. Use an oscilloscope to find impedance problems that you can’t see easily.
Component Testing: Test each part, like batteries and resistors, with a multimeter. This helps you find broken parts quickly.
Integrated Circuit Testing: Compare integrated circuits (ICs) with a known good circuit. This way, you can find bad ICs faster.
By using this step-by-step method, you can fix things quicker. You find and isolate problems without wasting time. Using tools like multimeters and oscilloscopes helps you spot issues fast, leading to quicker fixes.
Avoiding Mistakes
Staying away from common mistakes while troubleshooting can really help you succeed. Here are some mistakes to avoid:
Common Mistakes | Description |
|---|---|
Physical damage | Damage from drops, hits, heat, or weather can cause problems. |
Component failure | Old parts may break, causing circuit board issues. |
Manufacturing errors | Mistakes during soldering or putting things together can lead to bad connections. |
Design flaws | Errors in design can cause wrong part placement and poor performance. |
To improve your troubleshooting, look for signs of power loss, check for burn marks, and find broken parts. Testing the PCB with a multimeter can show hidden problems. By avoiding these mistakes, you can diagnose accurately and make good repairs, saving time and resources.
When to Seek Professional Help
Sometimes, you might face circuit board problems that are too hard to fix yourself. Knowing when to get help can save you time and stop more damage to your device.
Signs for Professional Help
Watch for these signs that mean you should get professional help:
Error codes on the operator’s screen: These codes often mean a big failure is coming.
Warning beeps: If your device makes warning sounds, check the manual to avoid serious problems.
No power: If the unit won’t turn on, there may be serious issues.
Corrupt data: Data not working right can cause errors and problems.
Random rebooting: Strange behavior like this shows deeper issues.
Smoke, fire, or a “burnt electronics smell”: These are clear signs of big problems.
If you see repeated failures, it’s time to call the experts. Common reasons include physical damage, heat stress, and broken parts. Ignoring these signs can lead to total breakdowns of your devices.
Benefits of Professional Services
Choosing professional repair services has many benefits:
Advantage | Description |
|---|---|
Cost-effectiveness | Repairs can save you up to 80% compared to buying a new board, especially with fixing parts. |
Quick repair times | Normal repair times are one to three weeks, with rush services available in just 3-5 days. |
Extended life expectancy | Good repairs can make a PCB last as long as a new one, especially with proper care. |
Professional technicians do careful checks and cleaning. They look closely for problems like burnt parts and cracked solder joints. This first check is important for making a good repair plan.
While DIY repairs can save money for small jobs, tough problems can be risky for untrained people. Professional services keep you safe and follow rules, even if they cost more. For easy fixes, DIY can save time and cash, but big jobs should be done by experts to ensure safe and correct repairs.
By spotting the signs for professional help and knowing the benefits of expert services, you can make smart choices about your circuit board repairs.
In conclusion, you can fix many circuit board problems at home with the right tools and methods. But, knowing when to get professional help is very important. Here are some main points to keep in mind:
Safety Measures: Always wear safety gear when you repair. This helps avoid injuries from solder splashes.
Proper Tools: Use the right tools like soldering equipment and inspection devices for good repairs.
Repair Techniques: Follow known repair methods to make sure your fixes last.
Remember, if you see serious damage, complex multi-layer PCBs, or tiny components, think about calling professionals. They have the skills and special tools needed for good repairs. By using these methods, you can make your electronic devices last longer and feel proud of fixing them.
FAQ
What tools do I need to fix a circuit board?
You need some basic tools like a soldering iron, multimeter, desoldering pump, flux, and small screwdrivers. These tools help you find and fix common circuit board problems easily.
How can I tell if a circuit board is beyond repair?
If you see serious damage, like burnt parts, big cracks, or many broken paths, the board might be too damaged to fix. In these cases, think about getting a new one instead.
Can I fix a circuit board without experience?
Yes, you can fix easy circuit board problems with simple tools and help. Start by looking closely at the board and follow step-by-step repair methods. But, tough issues might need a professional.
How long does it take to repair a circuit board?
Repair times depend on how hard the problem is. Simple fixes might take a few hours, while harder issues could take several days. Always plan for extra time to test everything well.
Is it safe to repair circuit boards at home?
Yes, it is safe if you follow good safety rules. Wear safety gear, work in a place with fresh air, and use tools carefully. If you are not sure, ask a professional for help to avoid accidents.
See Also
Proven Techniques for Analyzing PCBA Failures Effectively
Understanding the Hard Reset Procedure for PCBA Devices
Essential Strategies to Enhance PCB Assembly Productivity
Streamlined PCBA Solutions for Quick Electronics Projects
Ten Professional Suggestions for Cost-Effective PCBA Assembly